

Case Modding: Painting a GPU
This is a community post by member Bobdareddino aka Lucas. He has a swagged out Bitfenix Prodigy and we wanted him to highlight some of the mods he has done on this tiny beast of a case. If you want to get involved in shaping content on KBMOD, be sure to post on the forums or email community@kbmod.com with article ideas.
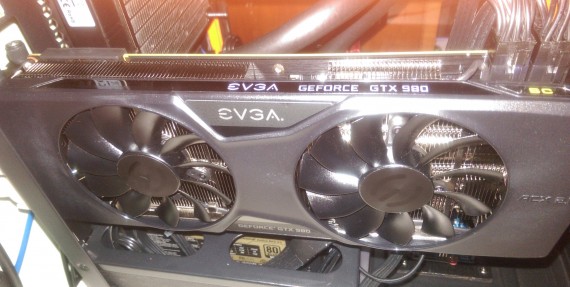
Hopefully at this point you’ve seen both part 1 and part 2 of my BitFenix Prodigy mods! Since those articles were posted, my PC has seen quite a major change – mainly, a shiny new GTX 980. It’s a pretty good-looking card but I had an idea to make it look even better.
And what better way to achieve that than to paint it to match the case?
Given that this was my first time modding a card in any form, it was a little scary. I figured that if I take the plastic cover off before I paint it, I can’t really screw up anything functional. I started removing the cover by taking off some screws but quickly realized that EVGA decided to make this process quite difficult.
Eventually, I had to unscrew the heatsink from the board and permanently remove one of the EVGA decal stickers from the card just to get to all four screws. It took a frustrating couple of hours but I finally got to this point:
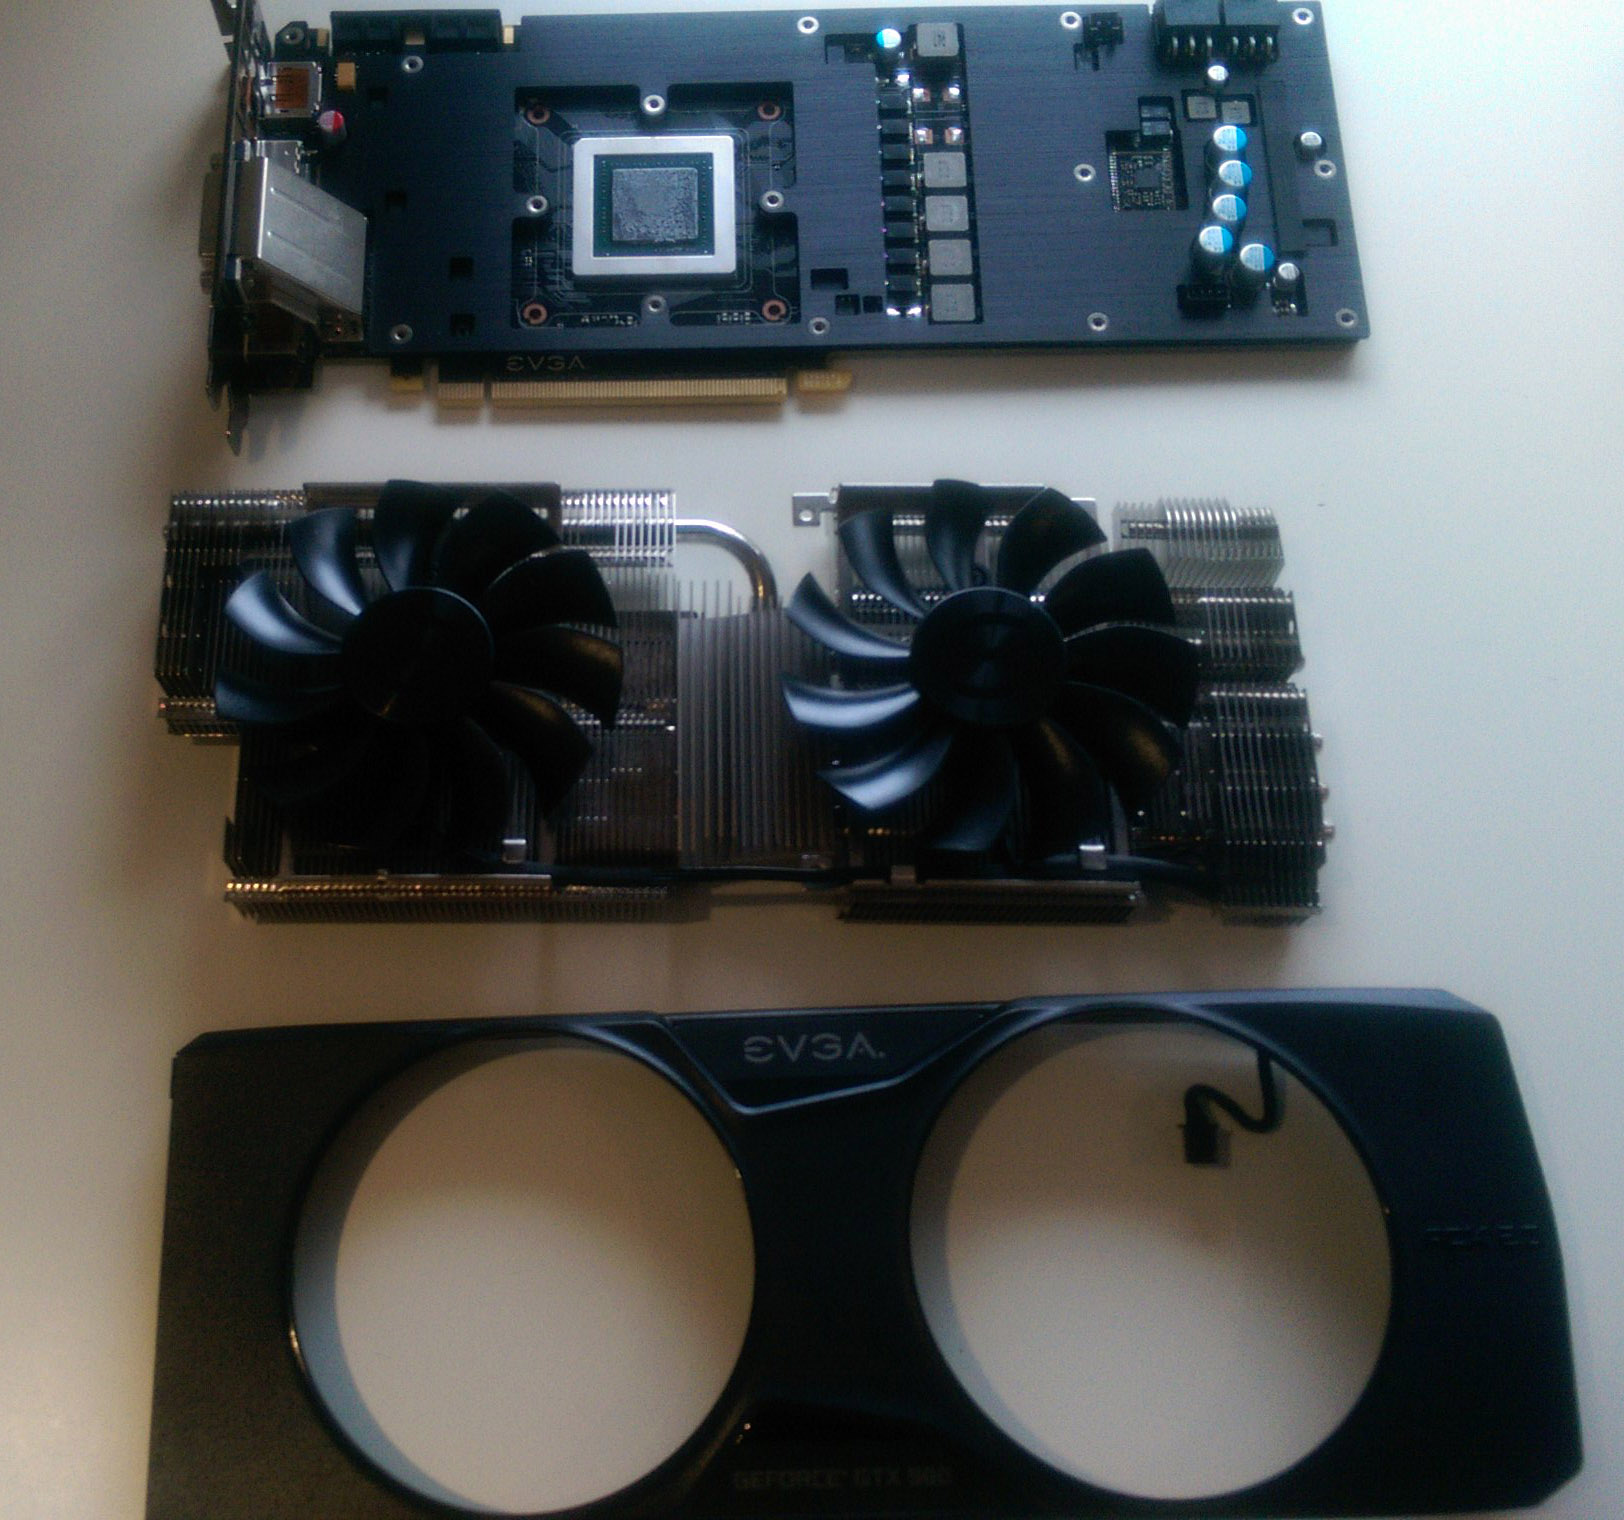
The plastic cover (bottom) is what I planned to paint. Doesn’t that circuit board (top) look sexy with the plate on it?
Now, I prepped for painting! First, I wiped down the cover with some alcohol to get rid of any fingerprints or dust and followed up by spraying it down with some adhesion promoter to help the paint stick.

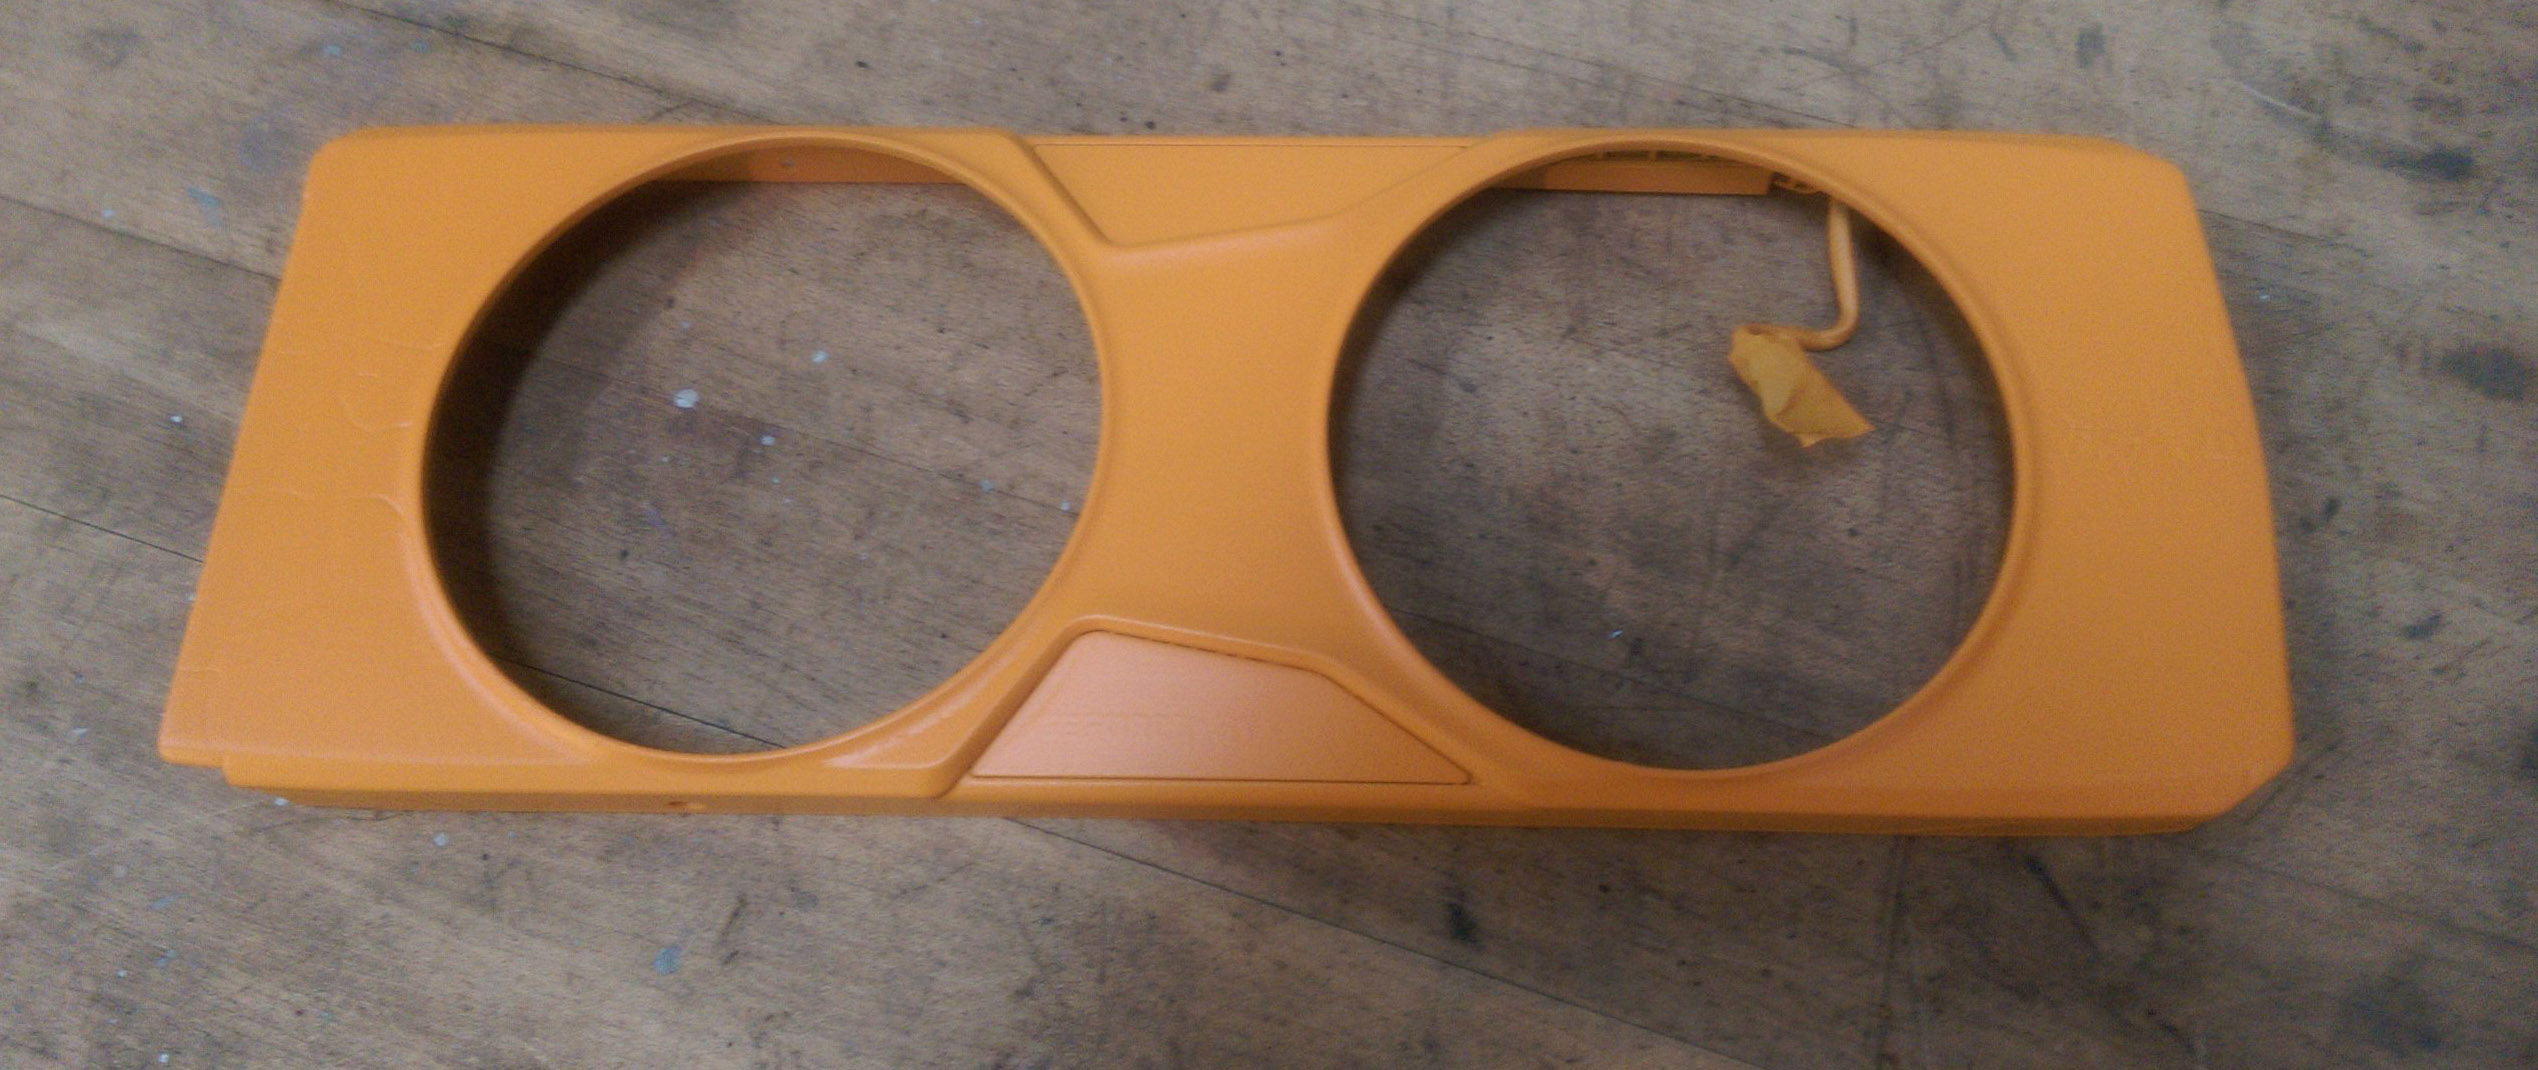
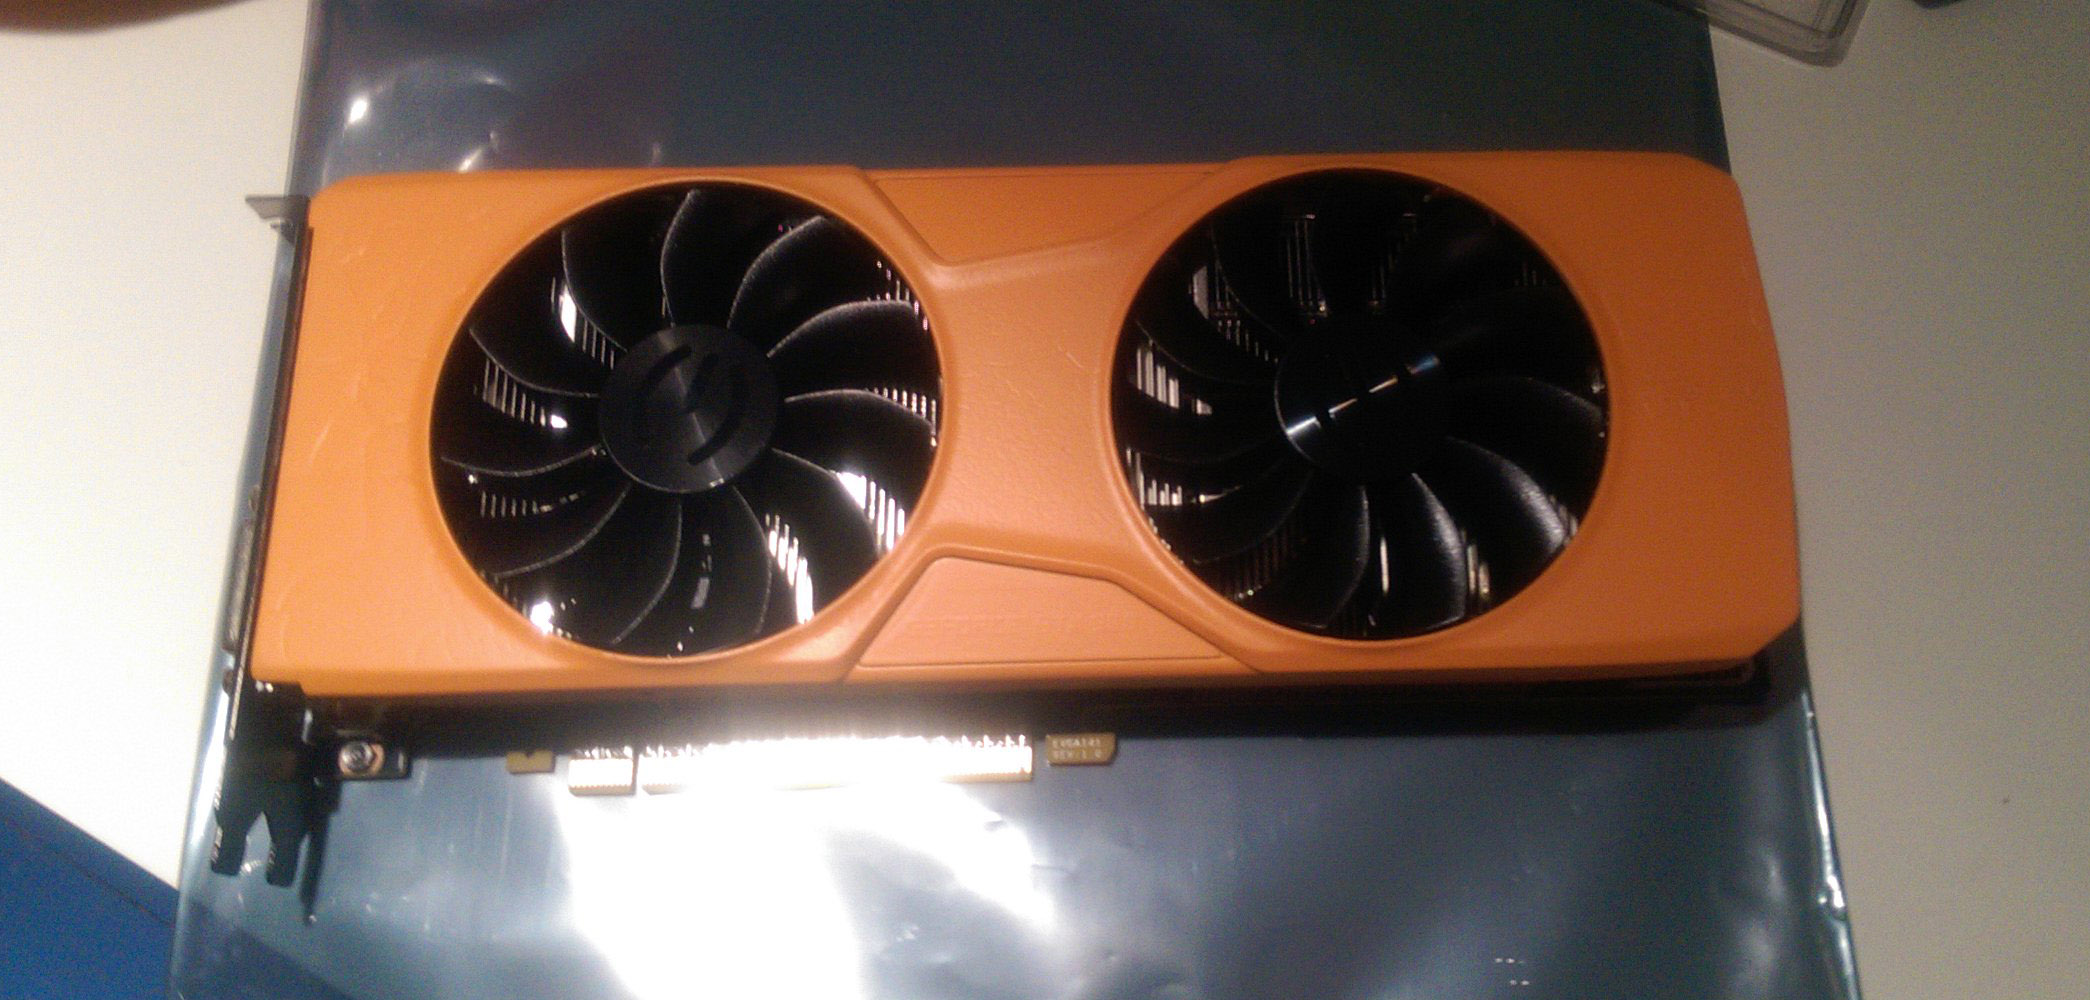
Unfortunately, it was too cold when I sprayed the adhesion promoter the first time around so it made those cracks on each side of the front face. They looked really bad at first but, after an hour or so of sanding, they weren’t too visible. I found a space heater and successfully sprayed the adhesion promoter again meaning we could finally paint! I sprayed the paint on backside first.

It looks more orange in reality and got even more orange after drying.
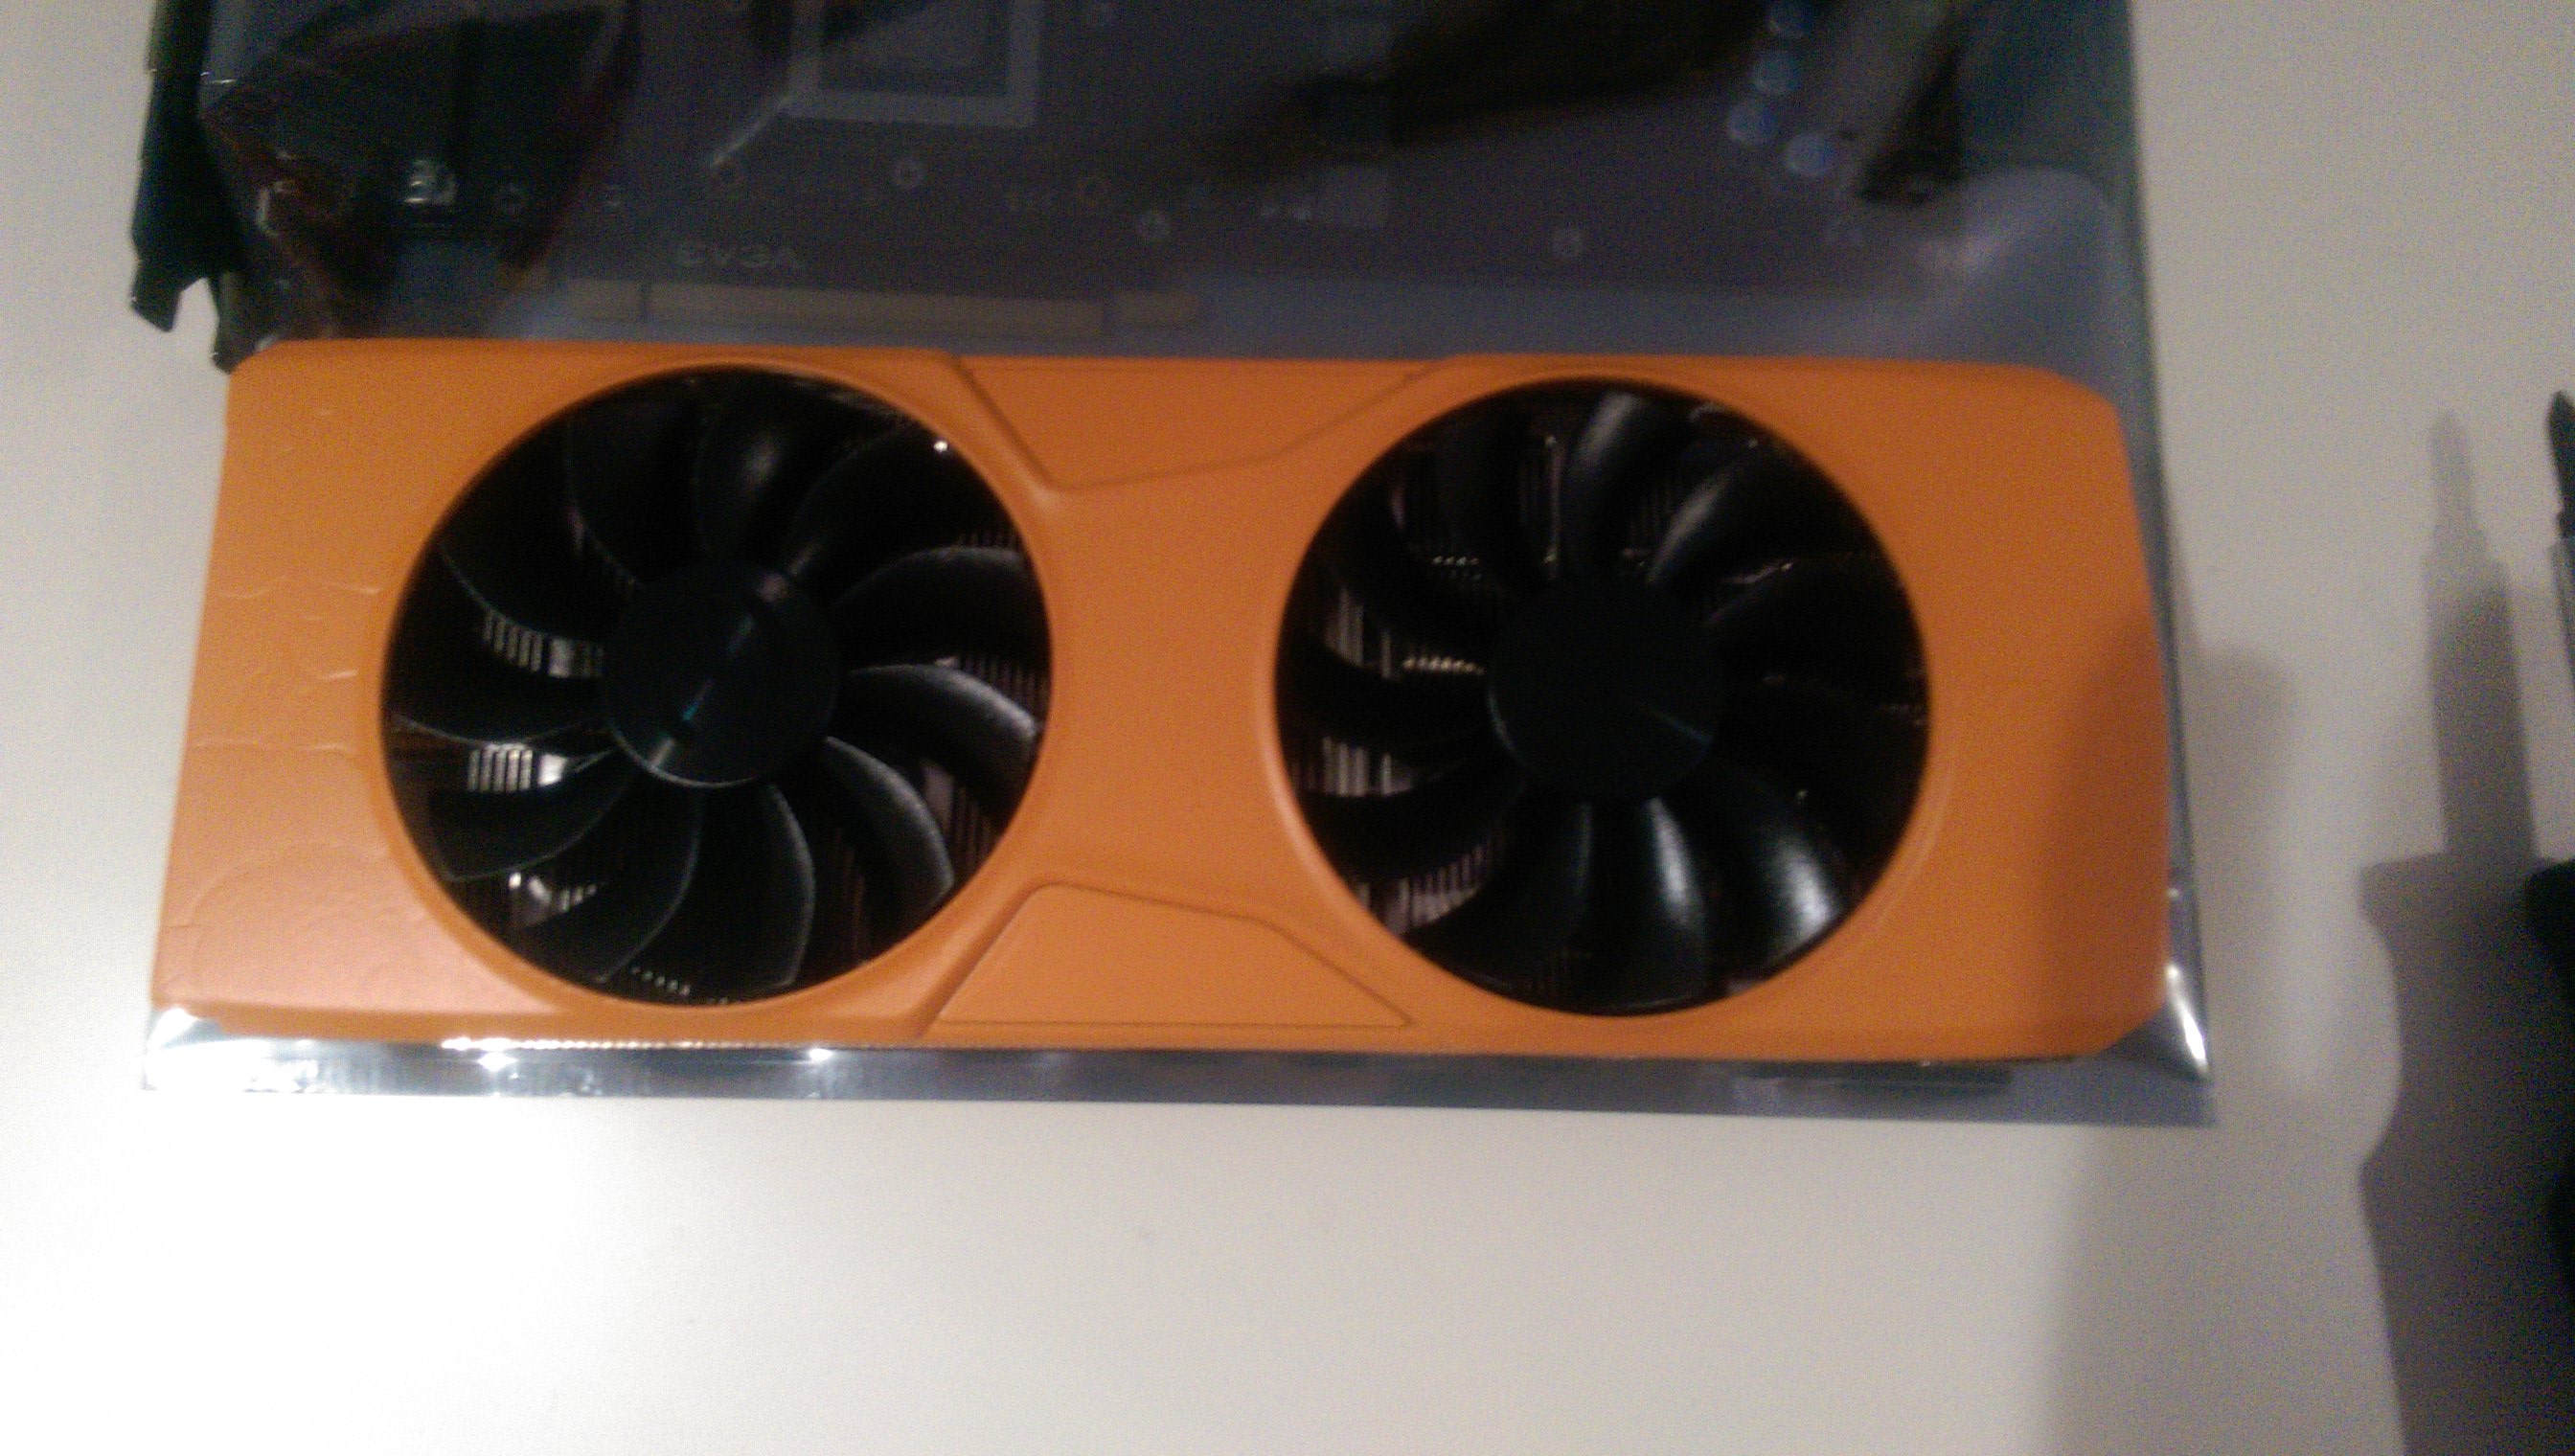
Next, I flipped it over and (very carefully) put four or five layers on the front. The paint did a good job to cover the cracks but they were still somewhat visible.
Now that the hard part was over, all I had to do was put the card back together. First, I re-attached the cover to the heatsink. It was a bit of a tight fit because of the added paint but I managed to get all four screws in.
I was hoping to put the heatsink back on the board without re-doing the thermal paste but, after smudging some of it while putting the cover on, I decided to simply re-apply it. Naturally, this meant I had to employ Brandon’s patented credit card method. It actually works! This was hands down the best thermal paste job I’ve ever done and it now idles almost 10C cooler.

Now, just four more screws…
…and it’s done! My god, is it beautiful! Time to put it back in its rightful place.
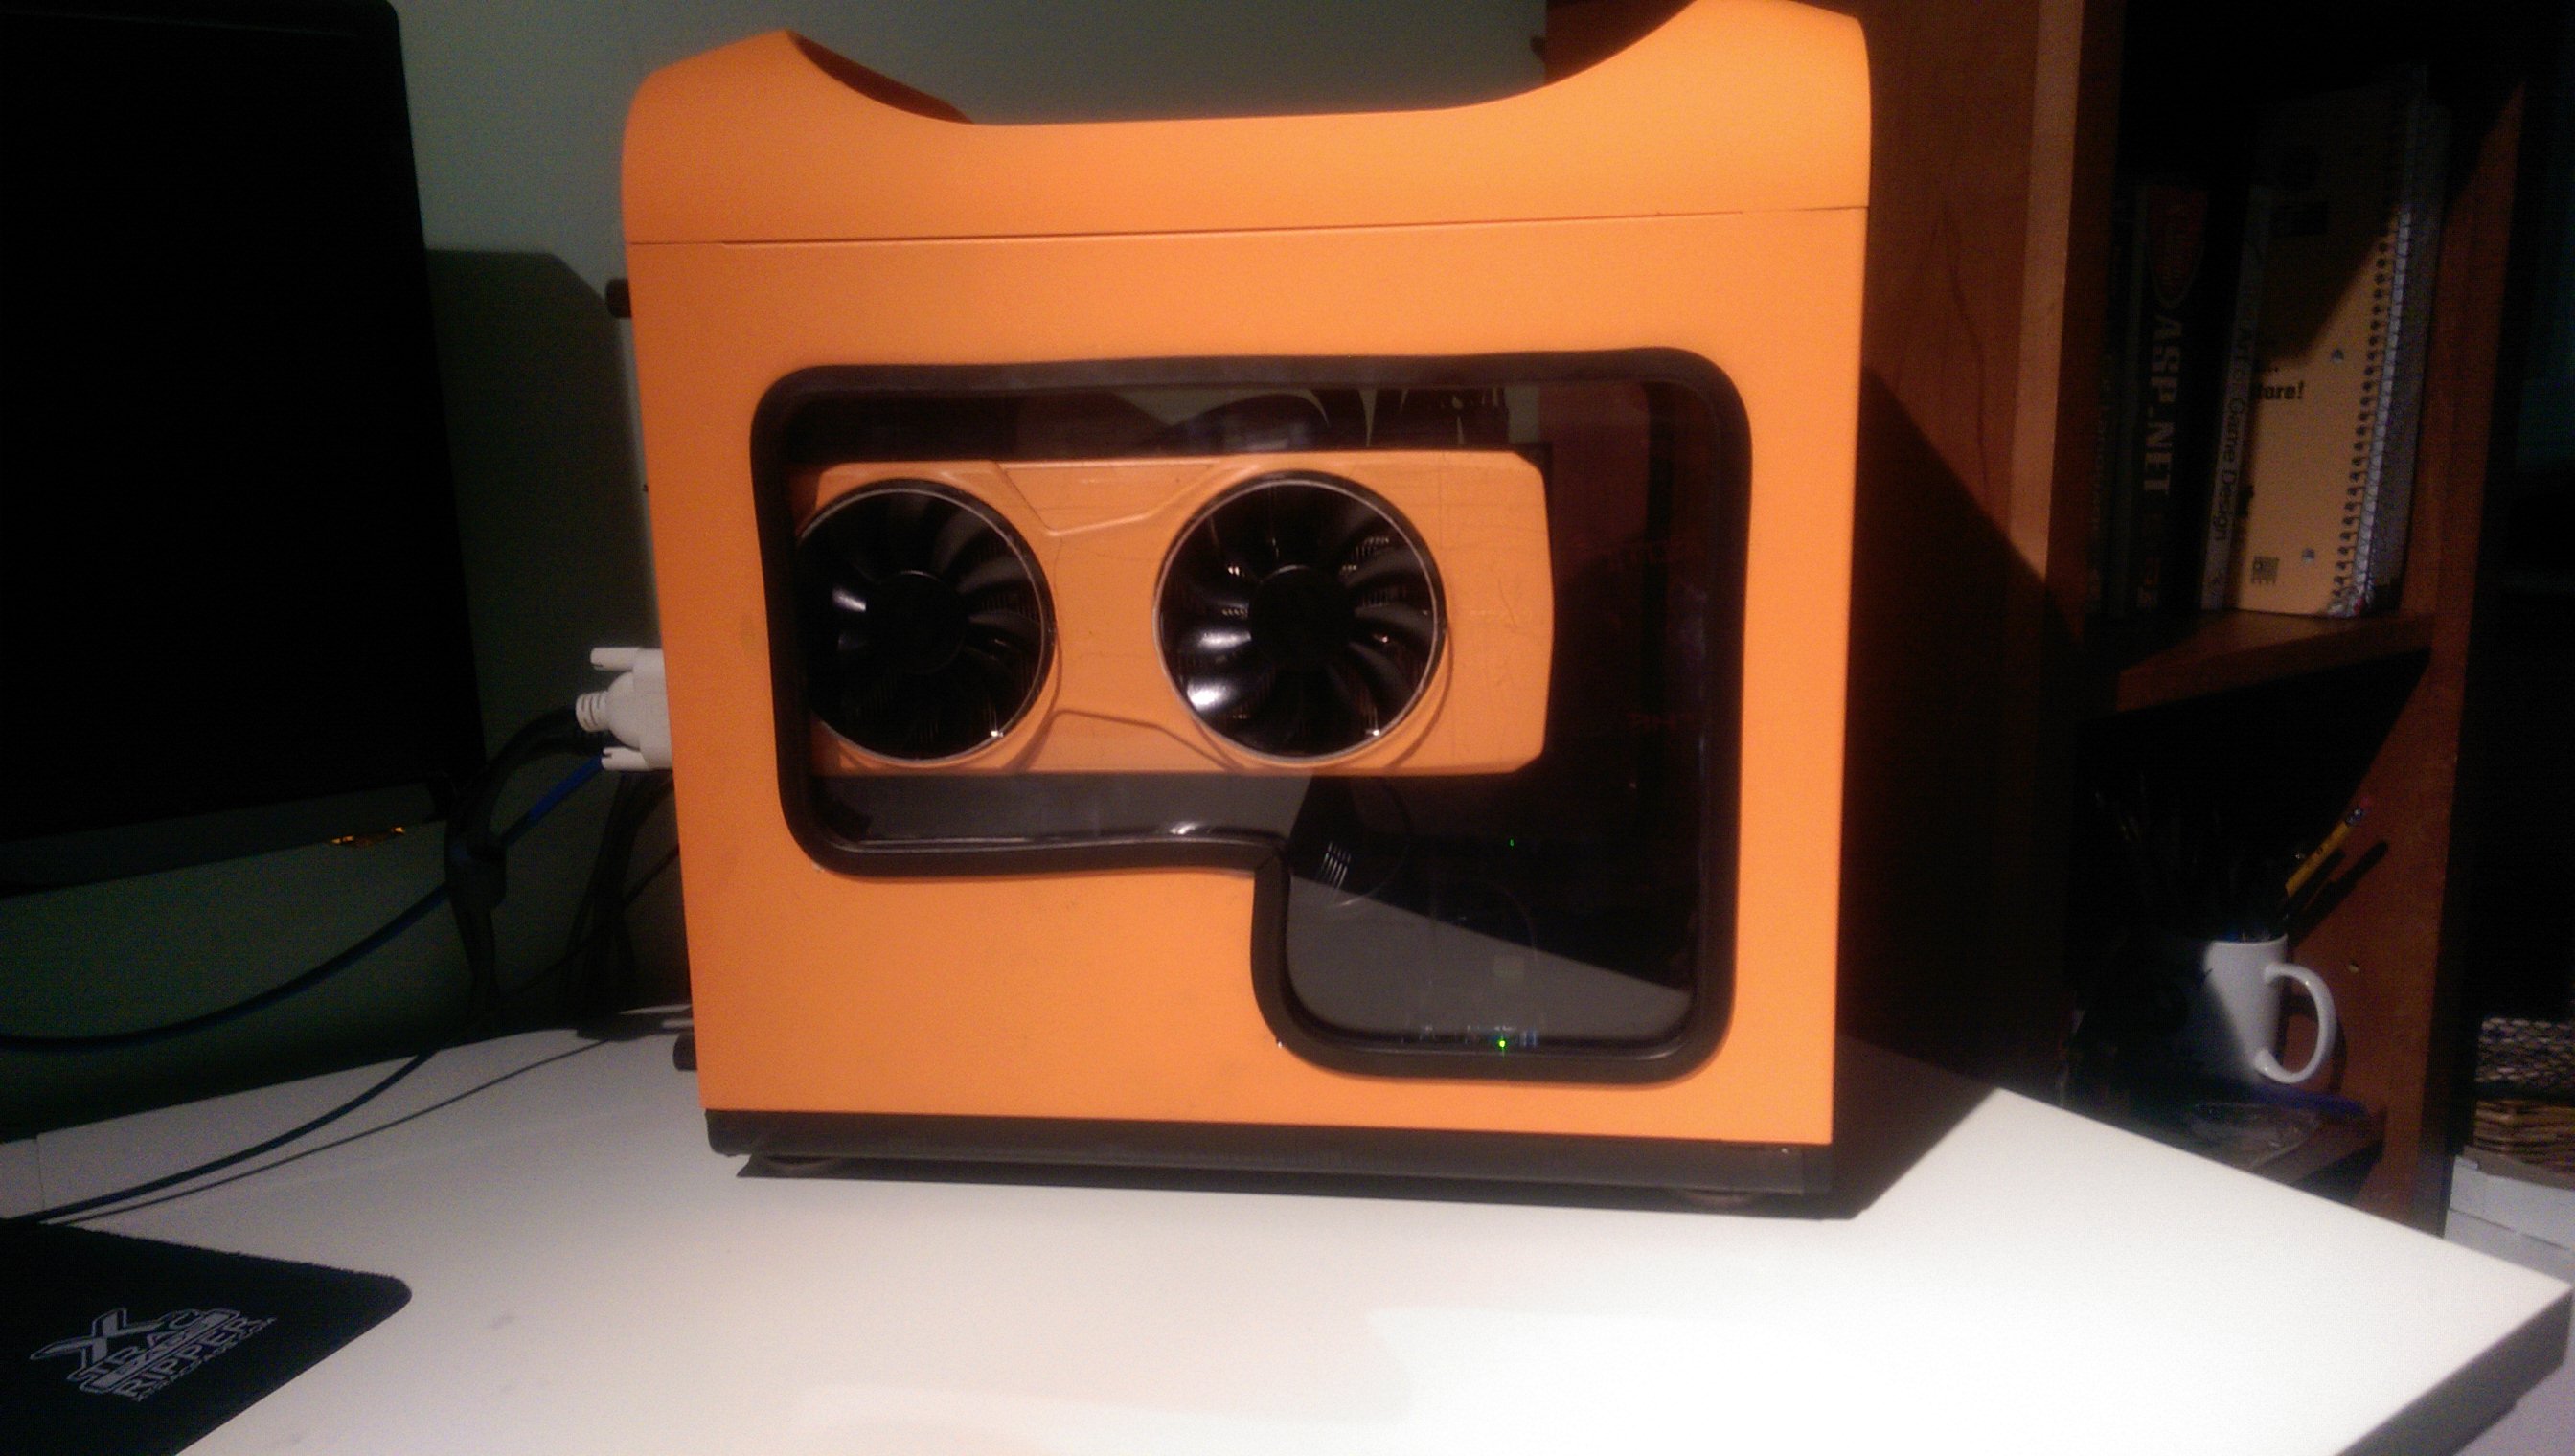
Oooh, that looks good. The color matches even better than I thought it would. Now, let’s turn the lights on!
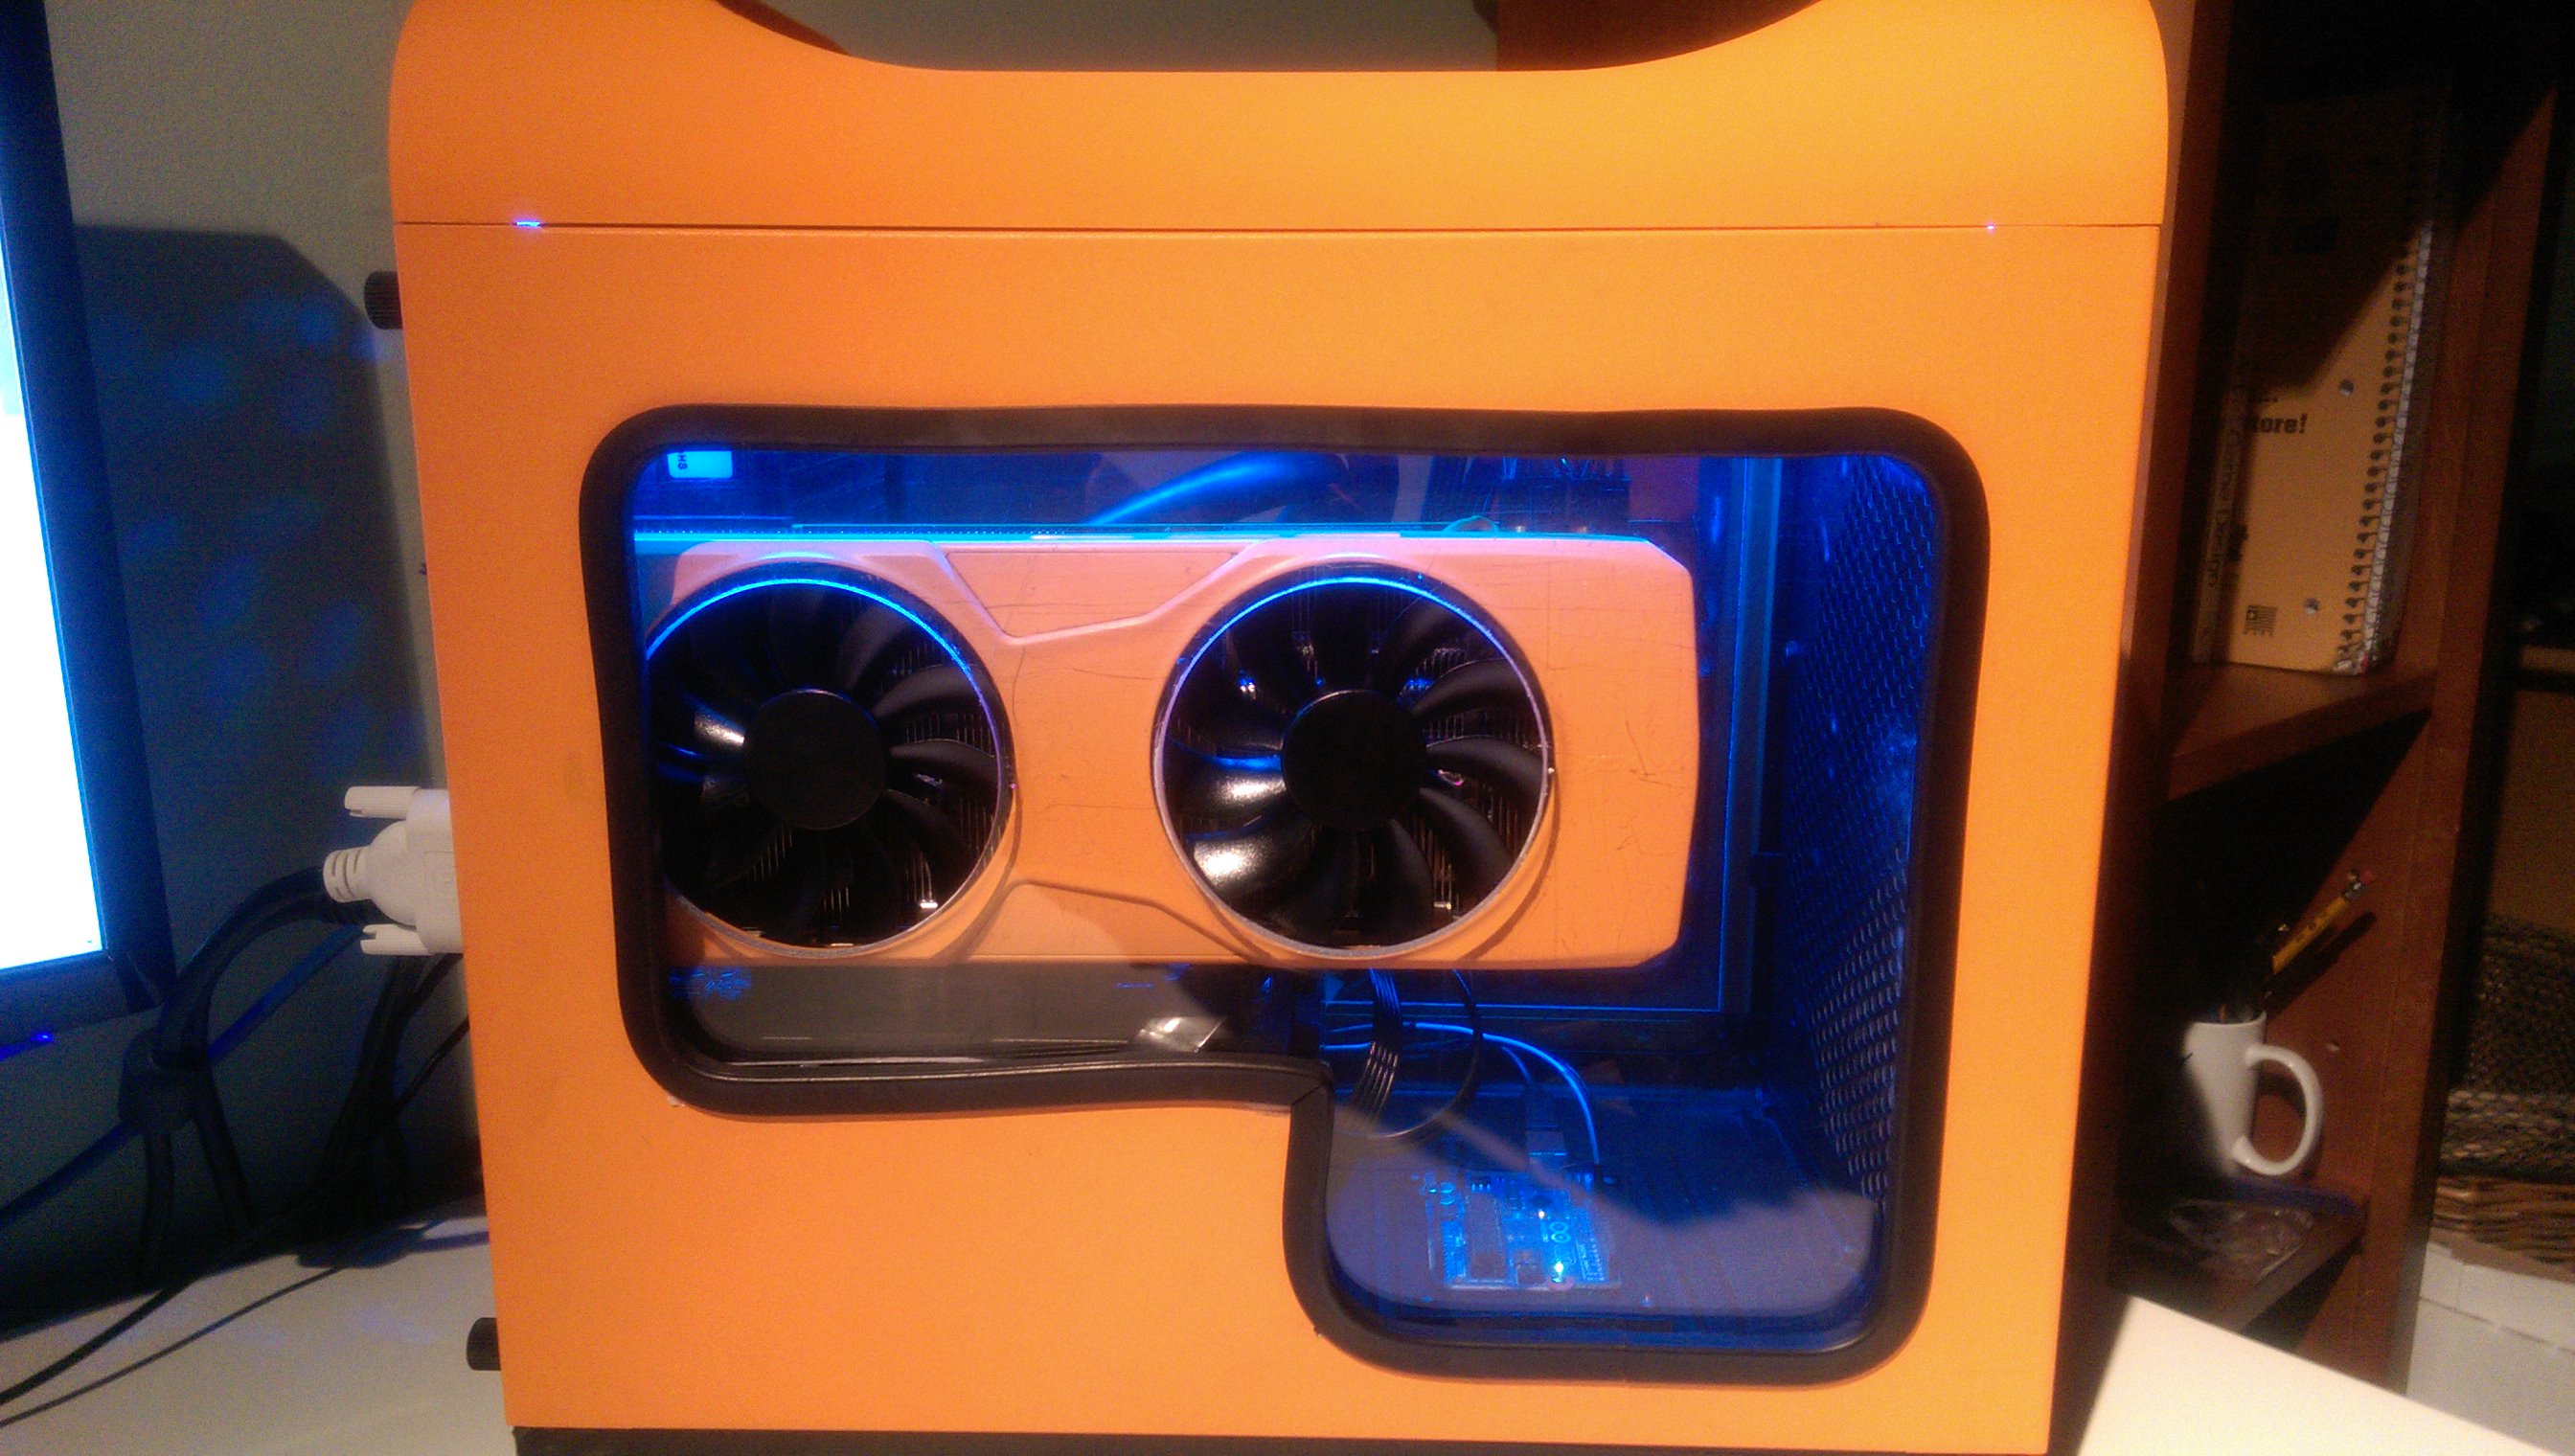
This picture makes the entire mod worth it. It is exactly what I had in mind from the start. Taking only three days and going to plan so well, this is definitely my favorite PC mod so far.
I always love rambling about my PC mods so thanks a ton for following along! You can find my latest Bro Cave or the post that outlines all of my case mods on the forums. If you have any comments, questions, or want to know about any of my other mods, leave a comment on this page or find me on Twitter @BobDaRedDino.
nipnops
I put the OO in Swagoo. One of the founders of KBMOD. I stream on Twitch as well as writing and editing for the website.
View nipnops's posts


6 Responses to Case Modding: Painting a GPU