
Community Post: BobDeRedDino’s Case Mods – Part 2
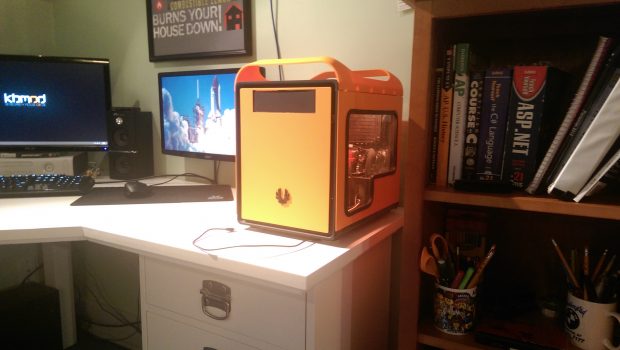
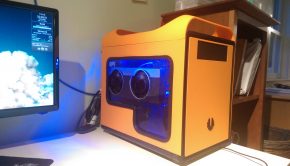
This is a two part community post by member Bobdareddino aka Lucas. He has a swagged out Bitfenix Prodigy and we wanted him to highlight some of the case mods he has done on this tiny beast of a case. Check out PART 1 here!
A lot of you have seen my BitFenix Prodigy bro cave by now, including all the mods I’ve jammed into my case. They’ve been a lot of fun to design and make, and the final product is great to look at. One of the reasons why I picked the Prodigy is because it’s so moddable. There’s a lot you can do to this case with just a screwdriver.
CASE WINDOW
Windows are simpler than LEDs but still a great mod you can do to almost any case. I spent a lot of time planning these. Finally, I decided to go all out and cut away about 60% of each panel. This included the front panel buttons, the USB and audio ports, and the 2.5” rack on the inside of the panel. I cut the holes in the acrylic and then sanded the edges down on each. I ordered some rubber U-channel tubing to cover the rough edges of the hole and double-sided taped the acrylic to the inside of the panel.
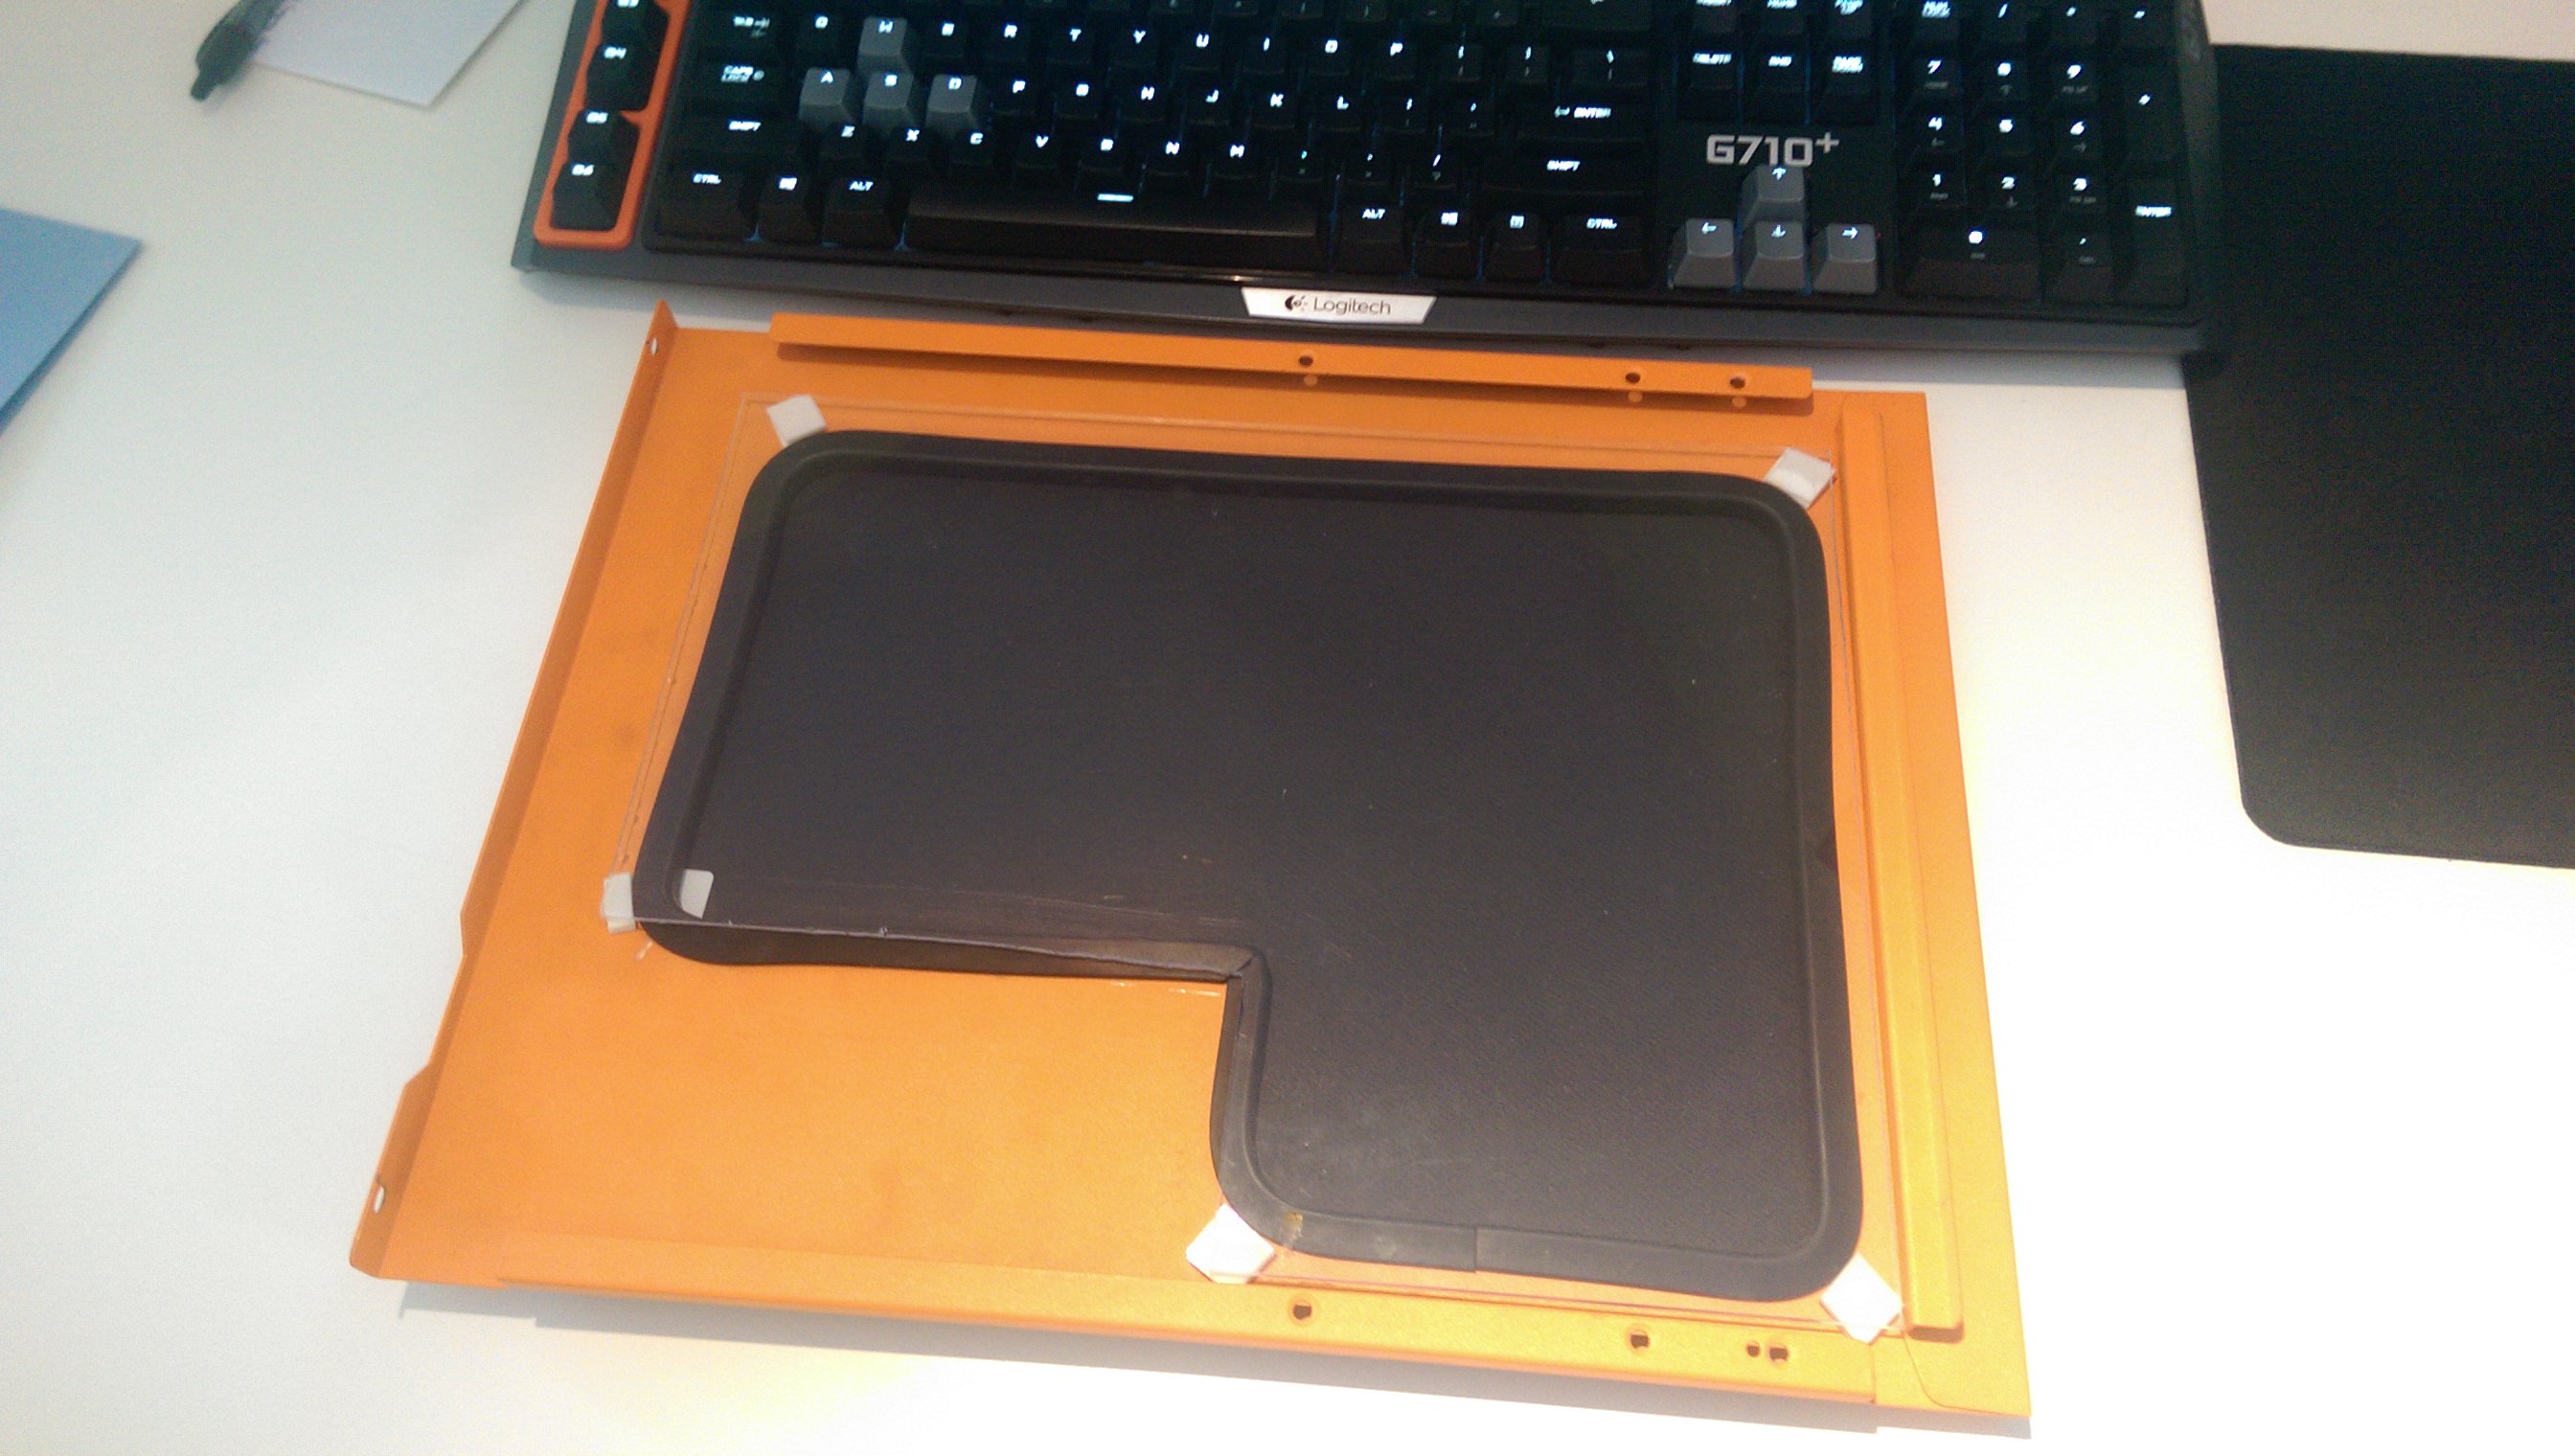
Inside of one of the panels. A few spots of double-stacked double-sided tape holds nicely.
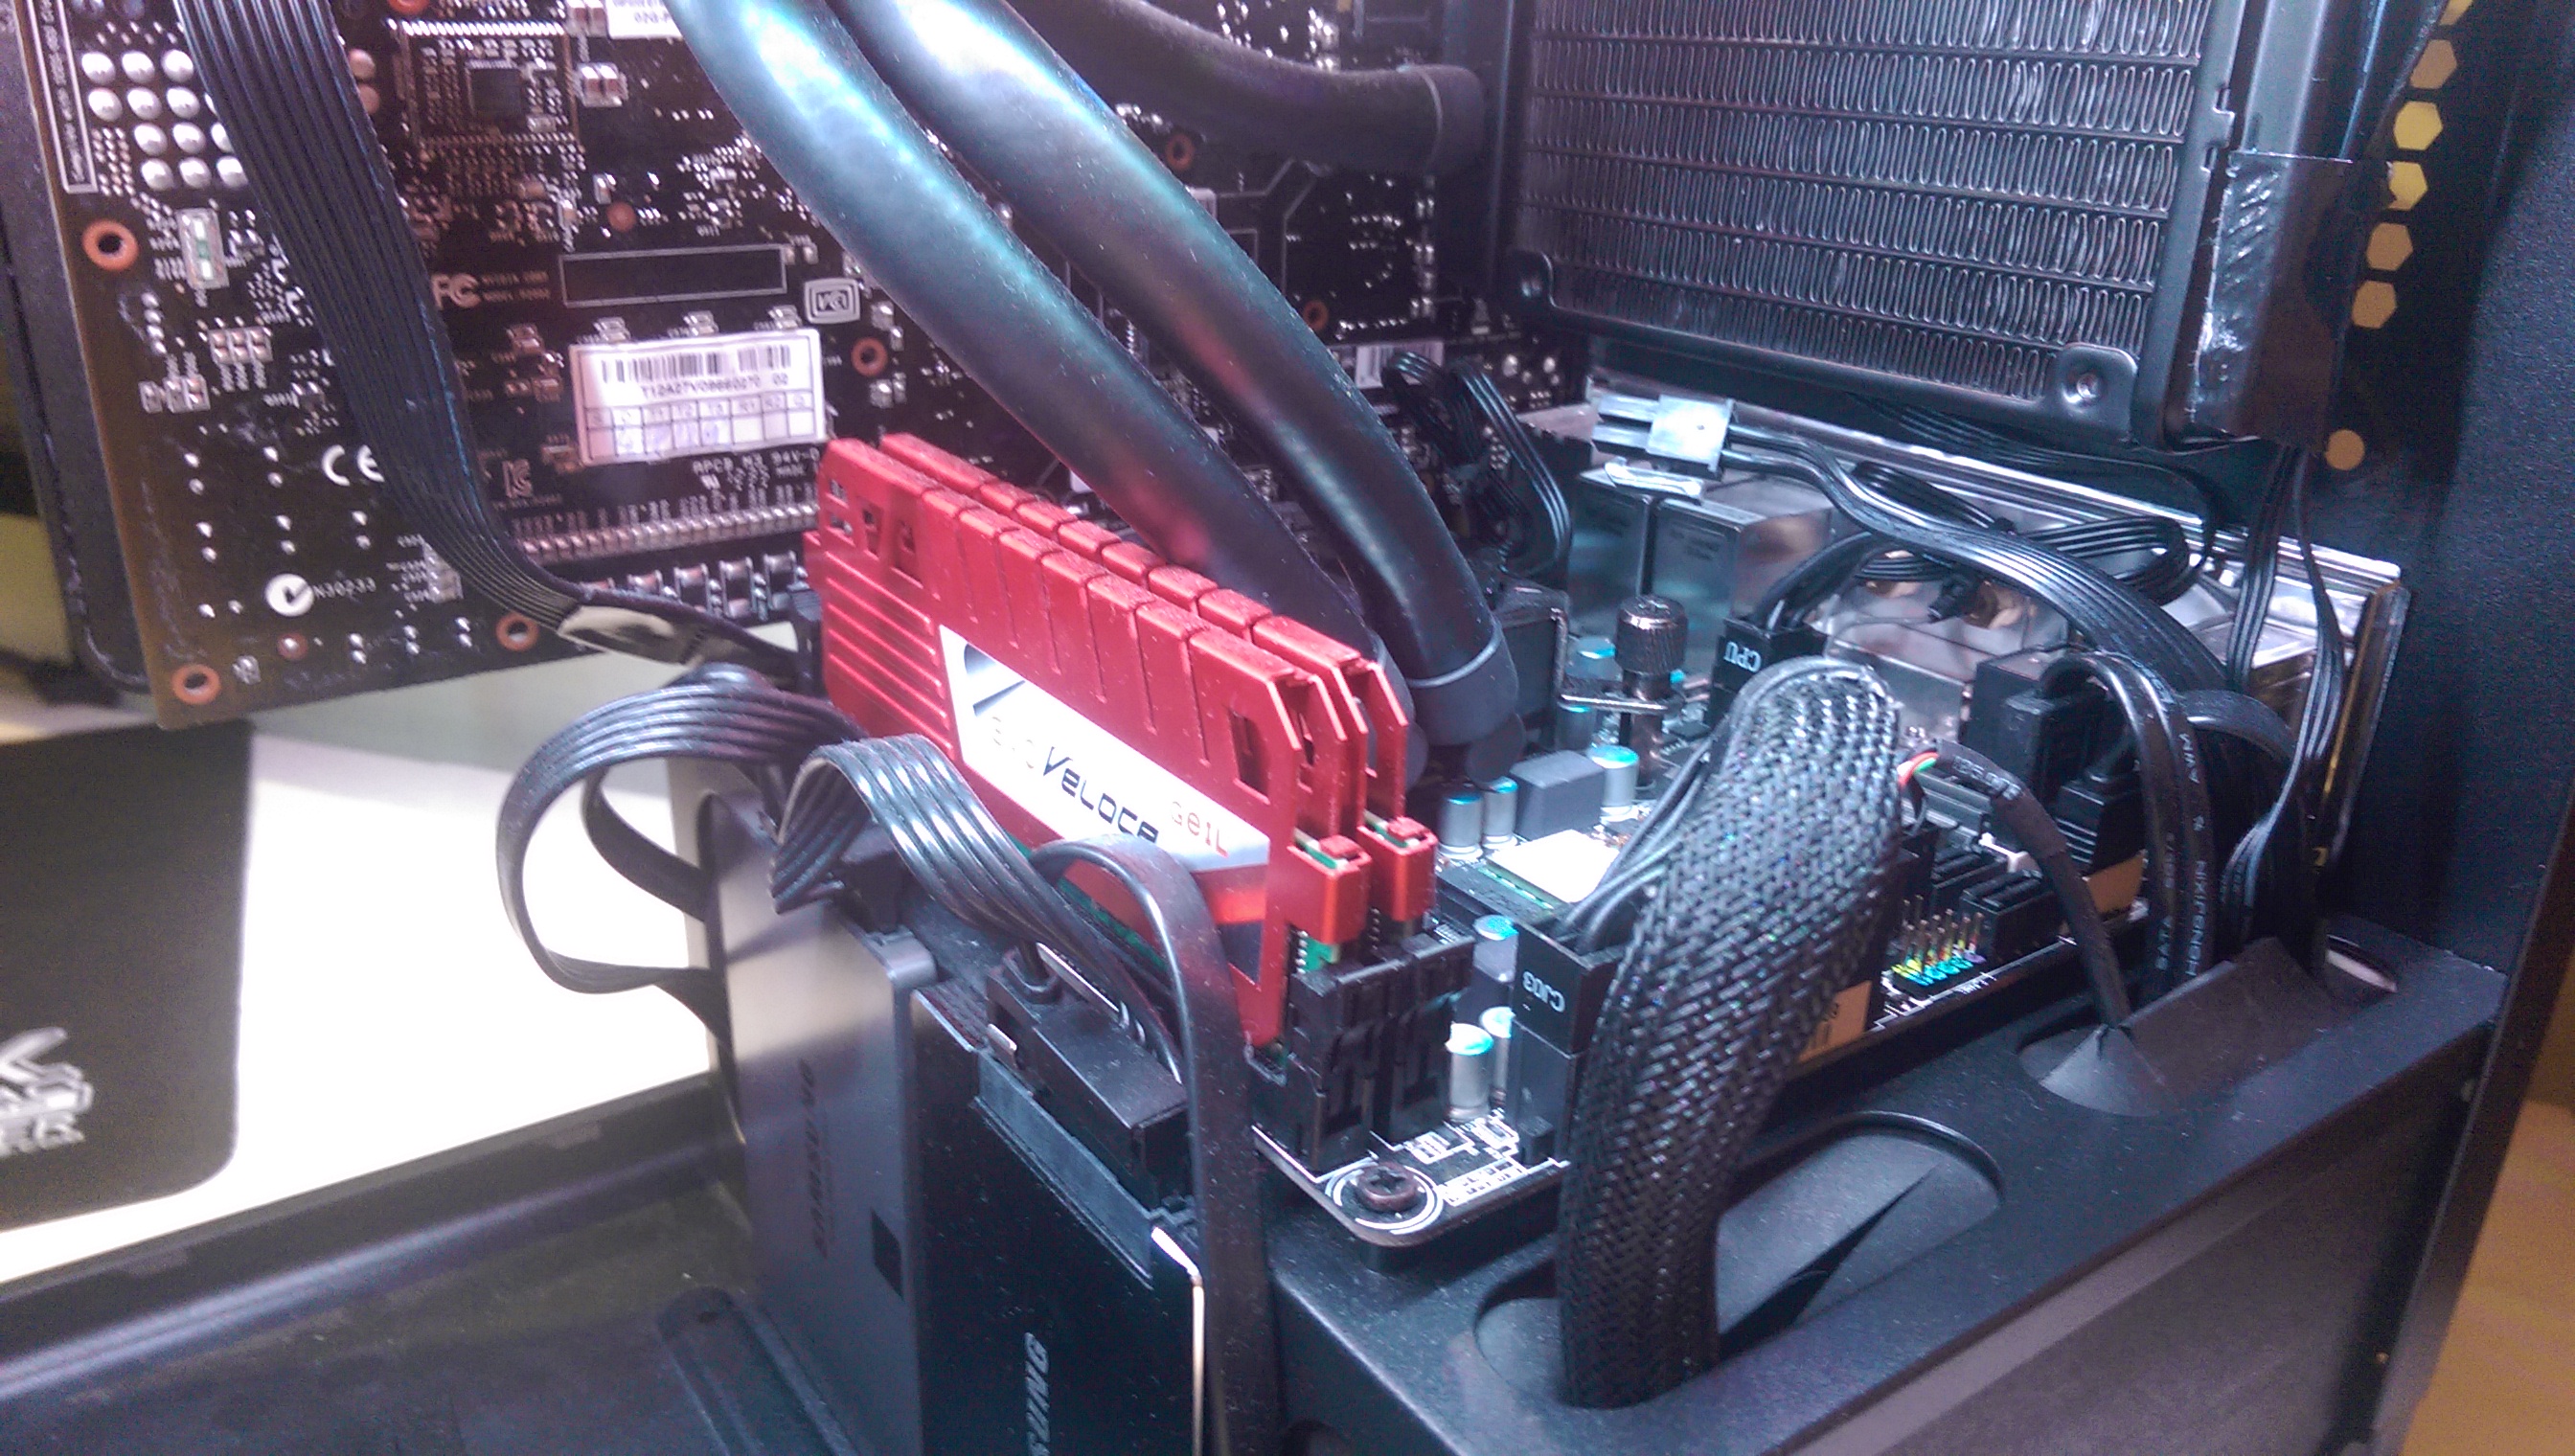
This was great on the right side of the computer, but on the left my graphics card was suffocating. I worked through a couple different designs for holes, but when I started cutting, the acrylic cracked. I got a piece of polycarbonate the second time; deciding that the simplest solution was the best. A hole saw did the trick! Now my GTX680 runs nice and cool.
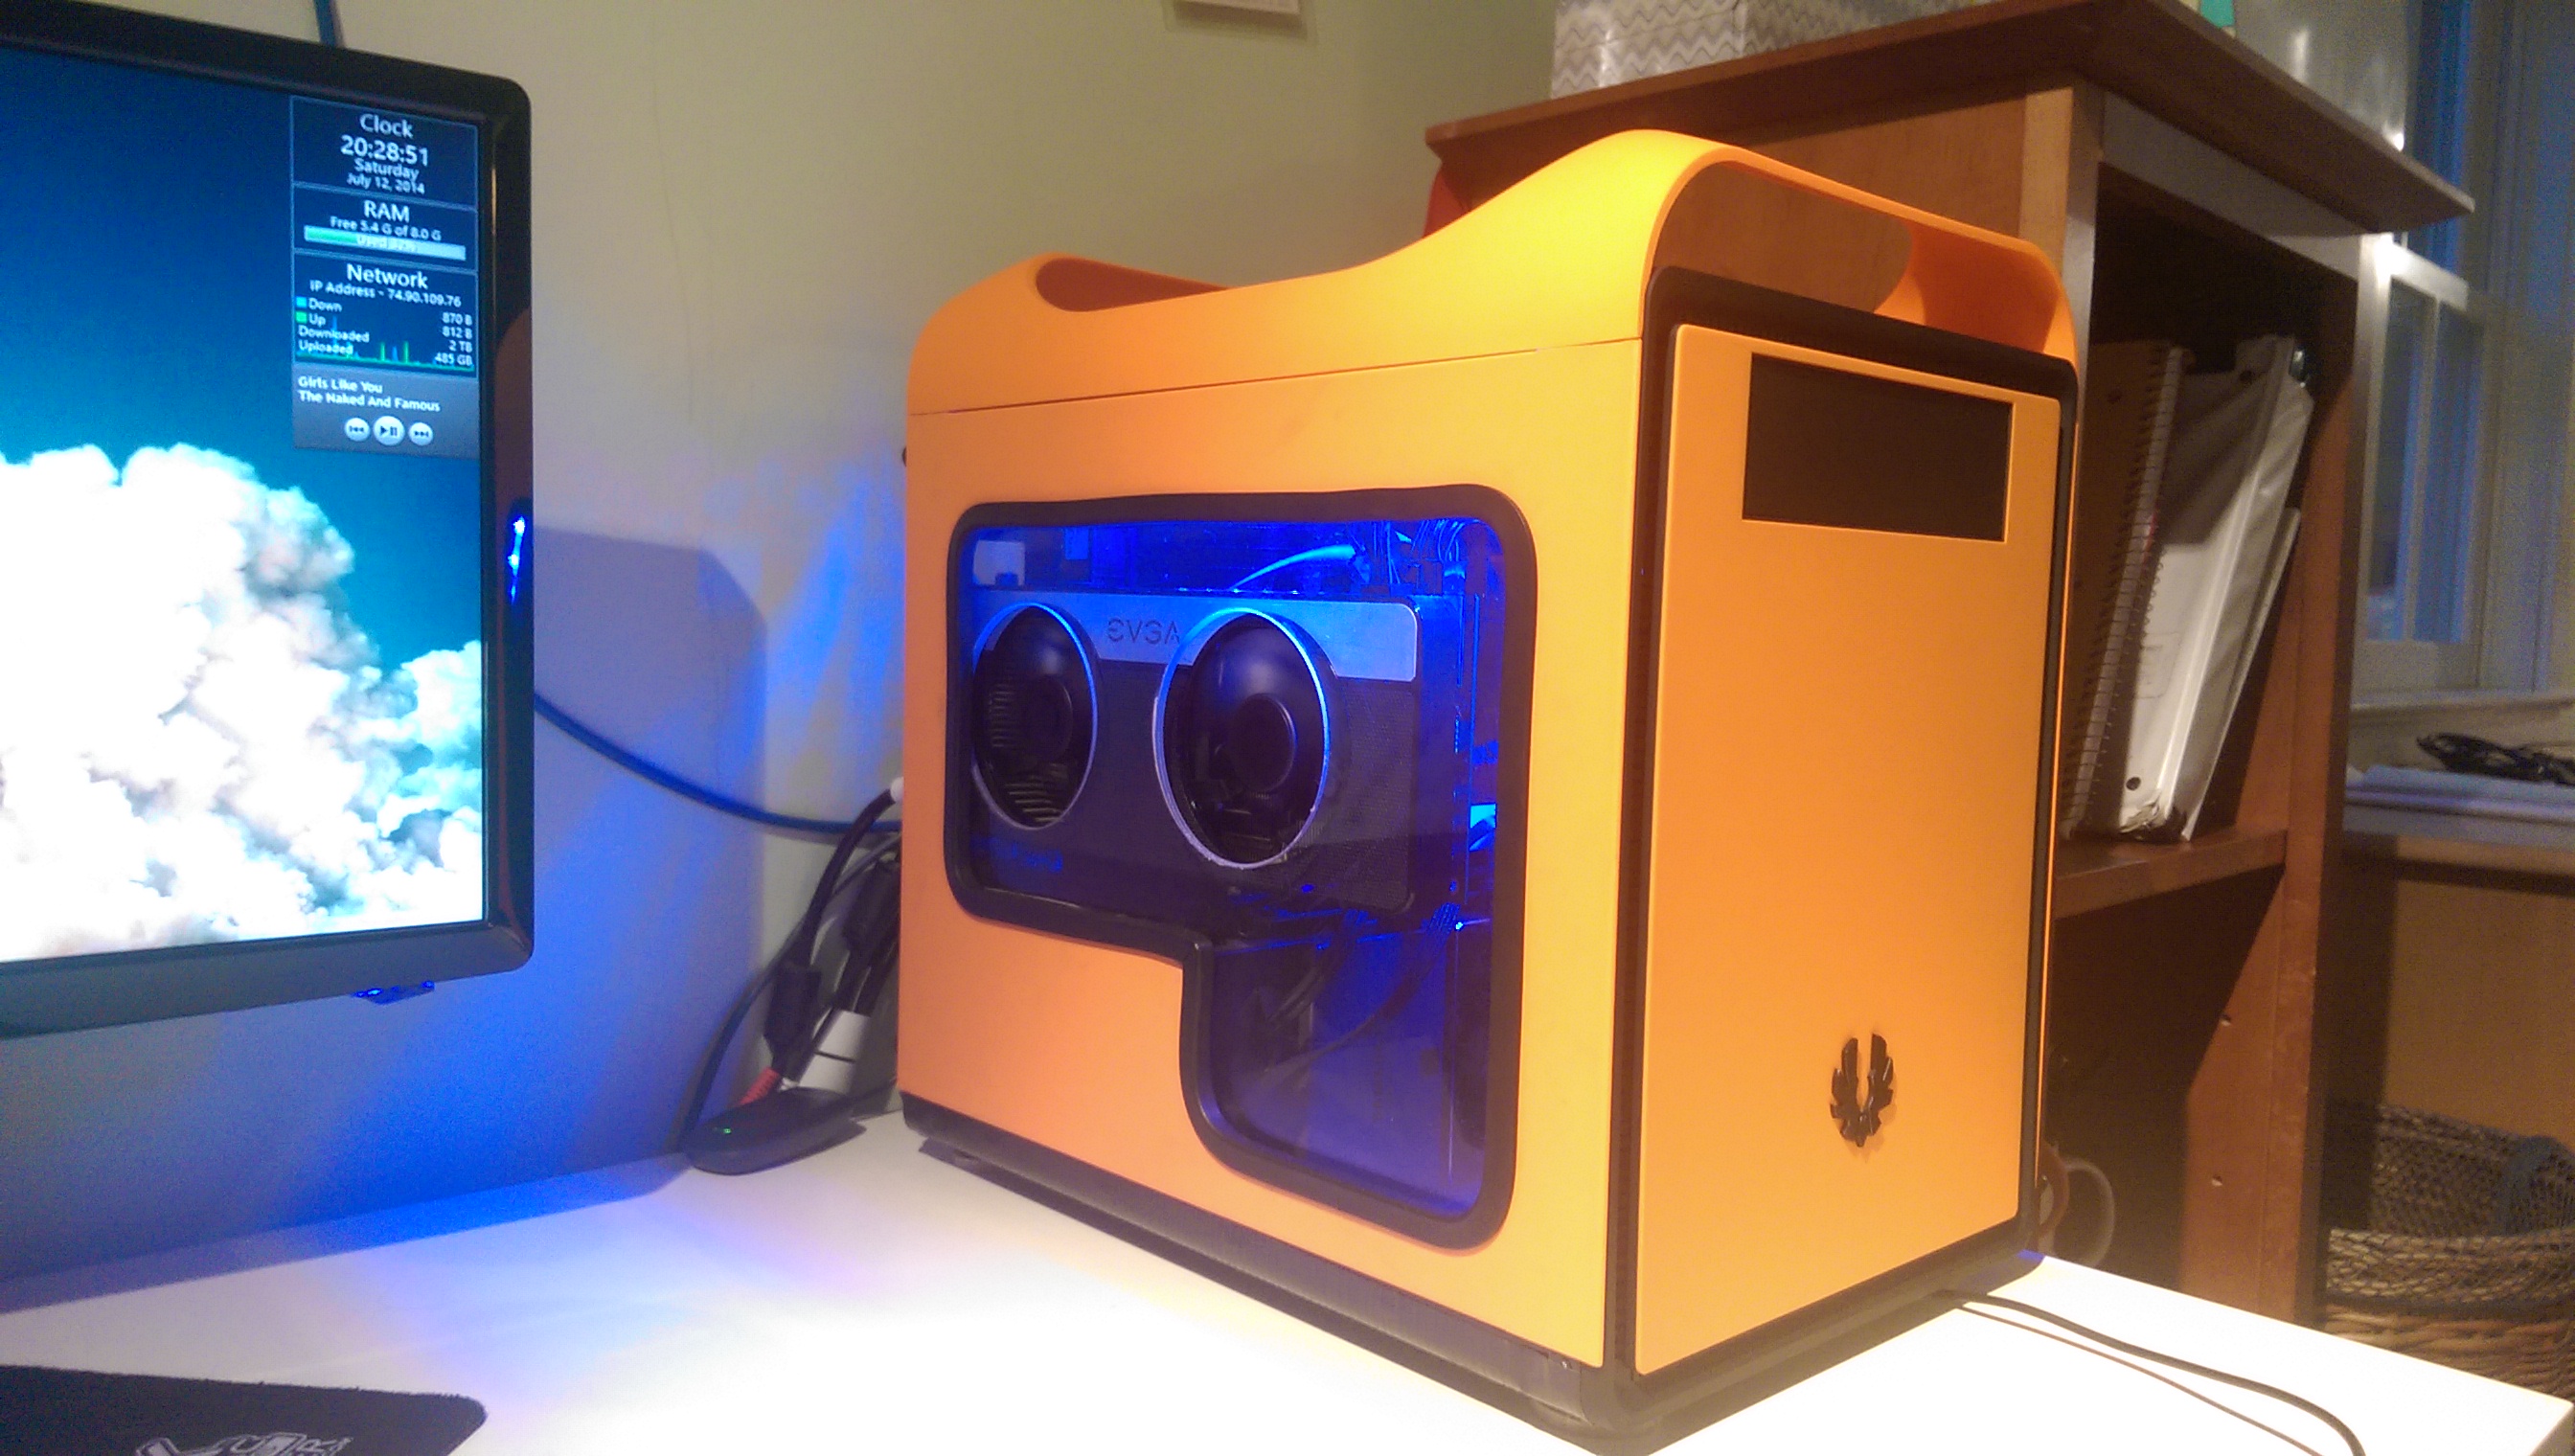

I’m very happy with how both the windows and the LEDs came out, so I don’t think I’ll be changing them at this point. Those are the two biggest mods, but I did make a few other noteworthy changes.
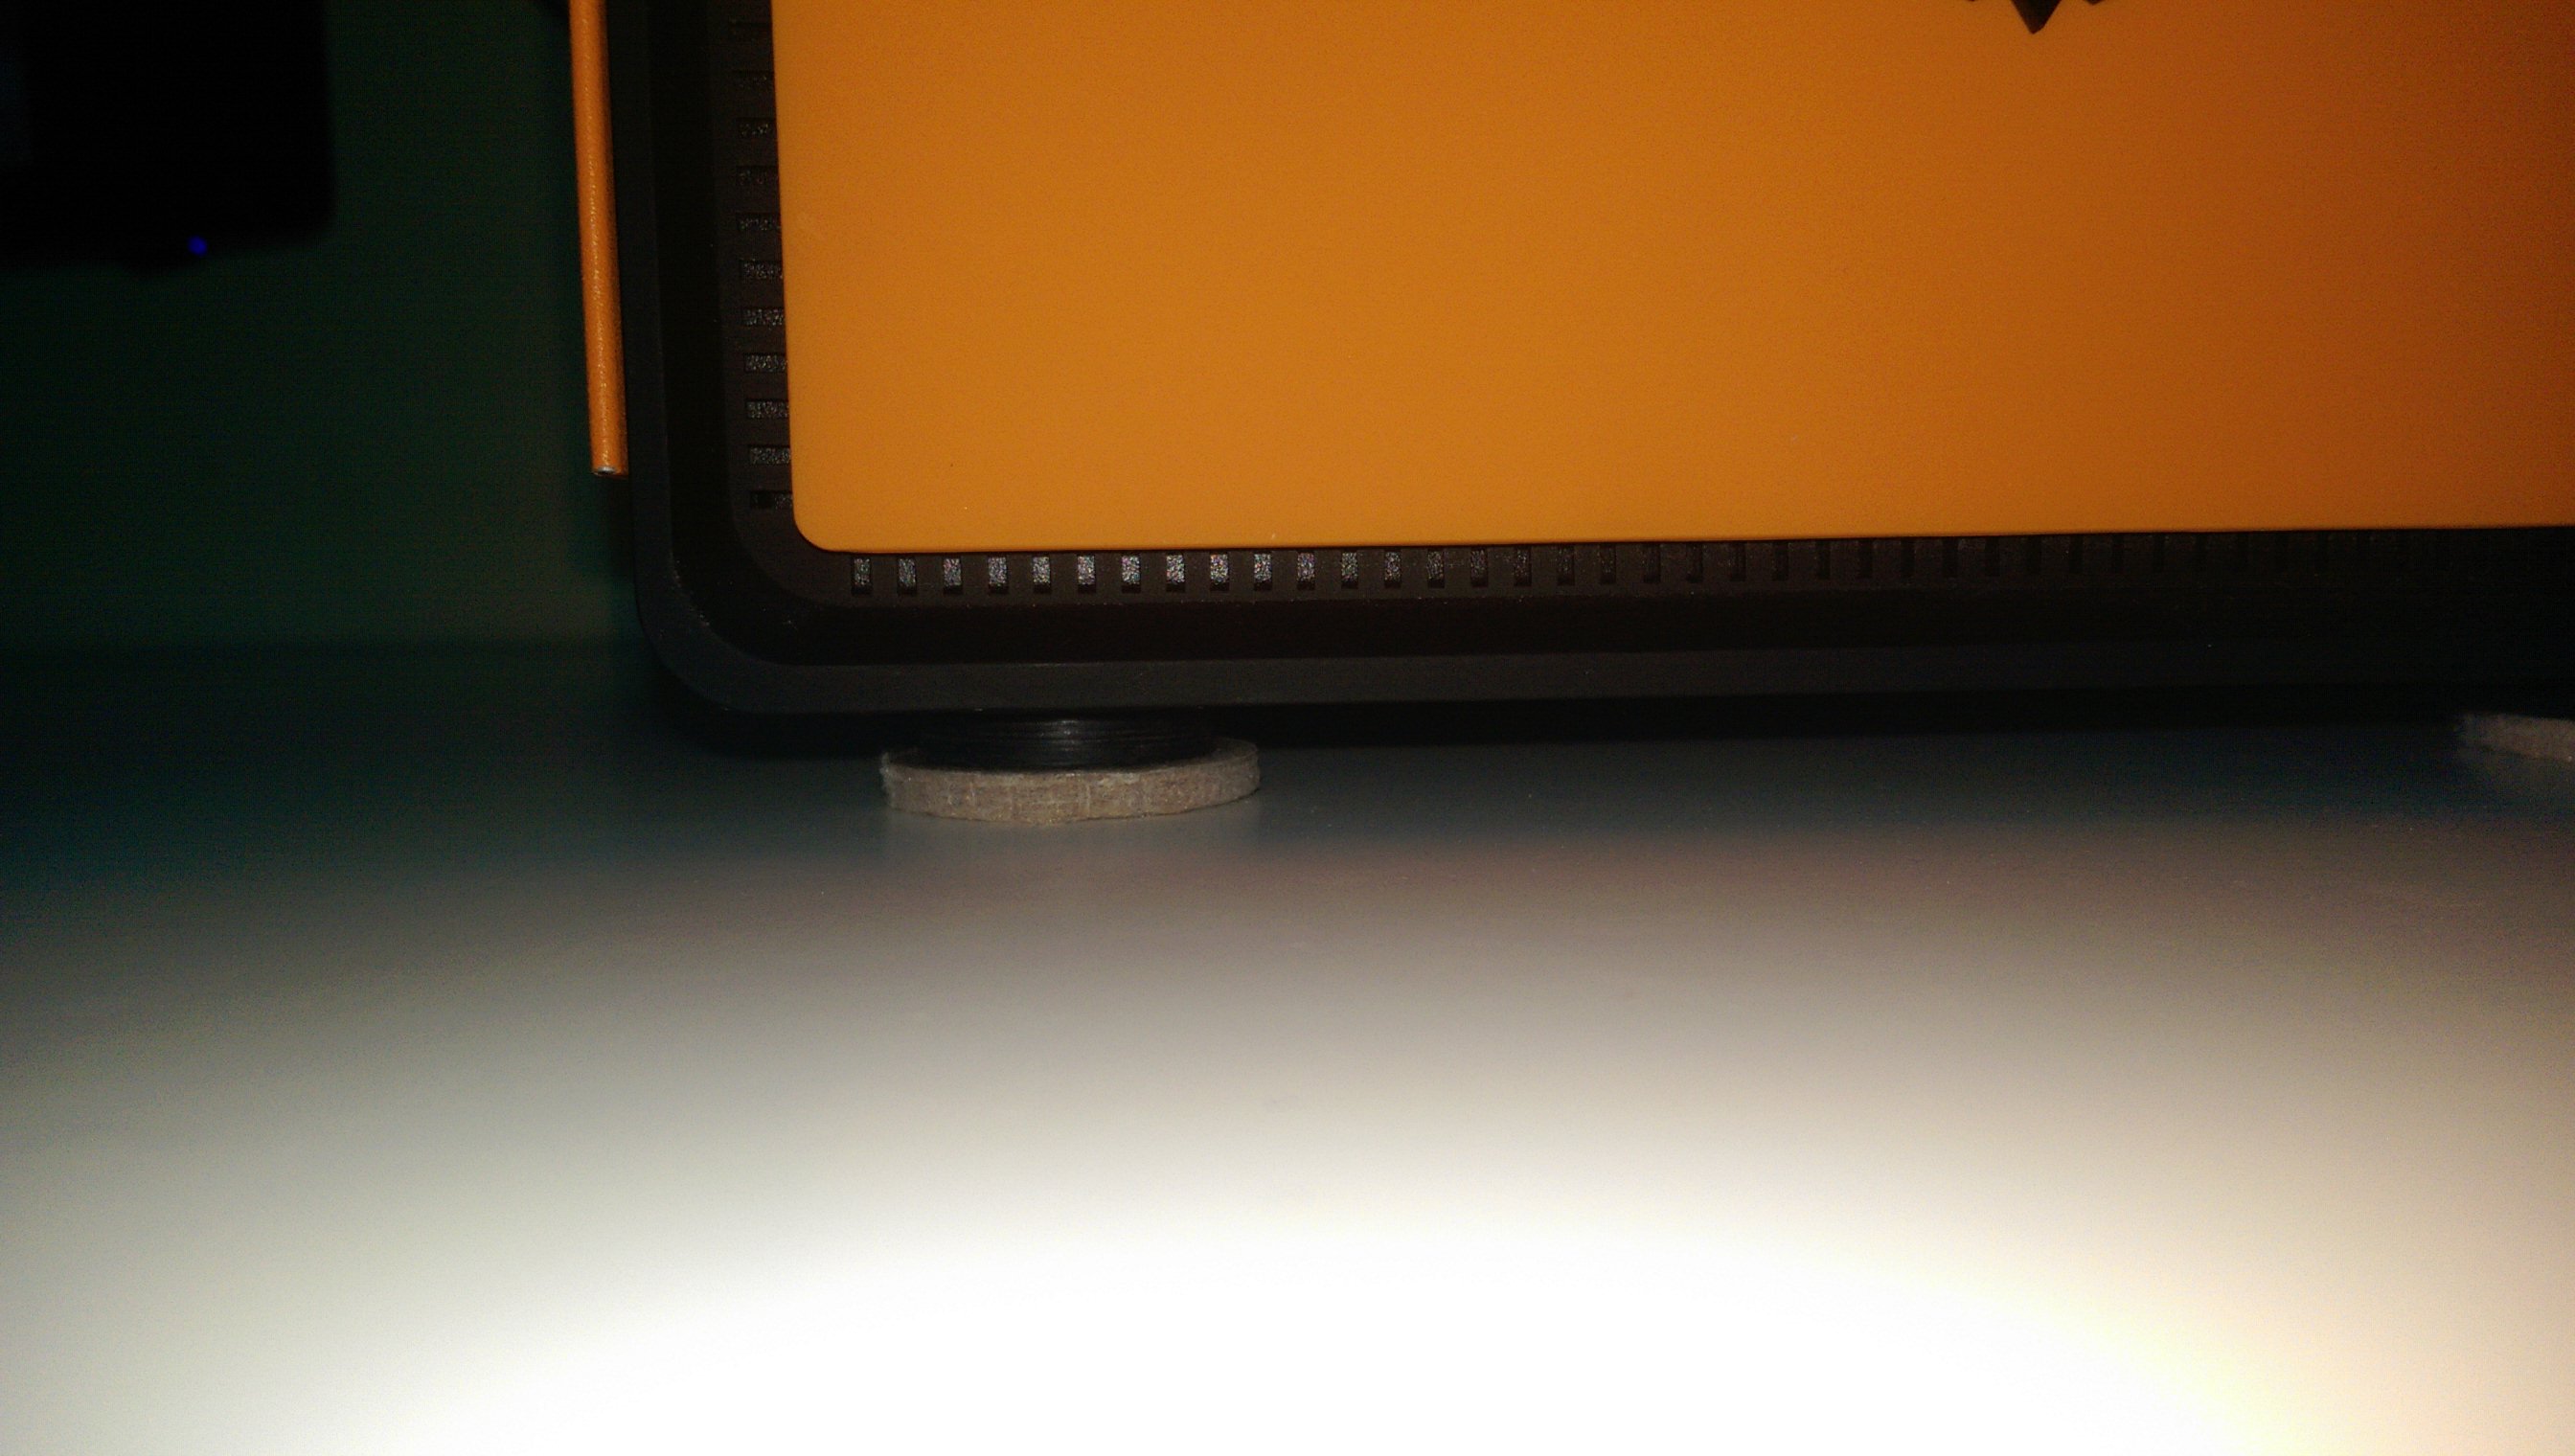
CASE FEET
I love the Prodigy, but the case still has its flaws. One of those is its feet. Instead of using normal rubber feet like most manufacturers, BitFenix got lazy and just took the handle and turned it upside down.
Although this design is symmetrical, it ends up being impractical. The case rocks and squeaks and even started to leave orange marks on my white desk. Fortunately you can just remove a few screws to take it off and then apply some tape to cover the holes. I picked up some adhesive furniture pads from the hardware store, then cut out some pieces of plastic as spacers to give more breathing room for the PSU underneath. The pads stick right to the spacers, and double-sided tape sticks the spacers to the case.
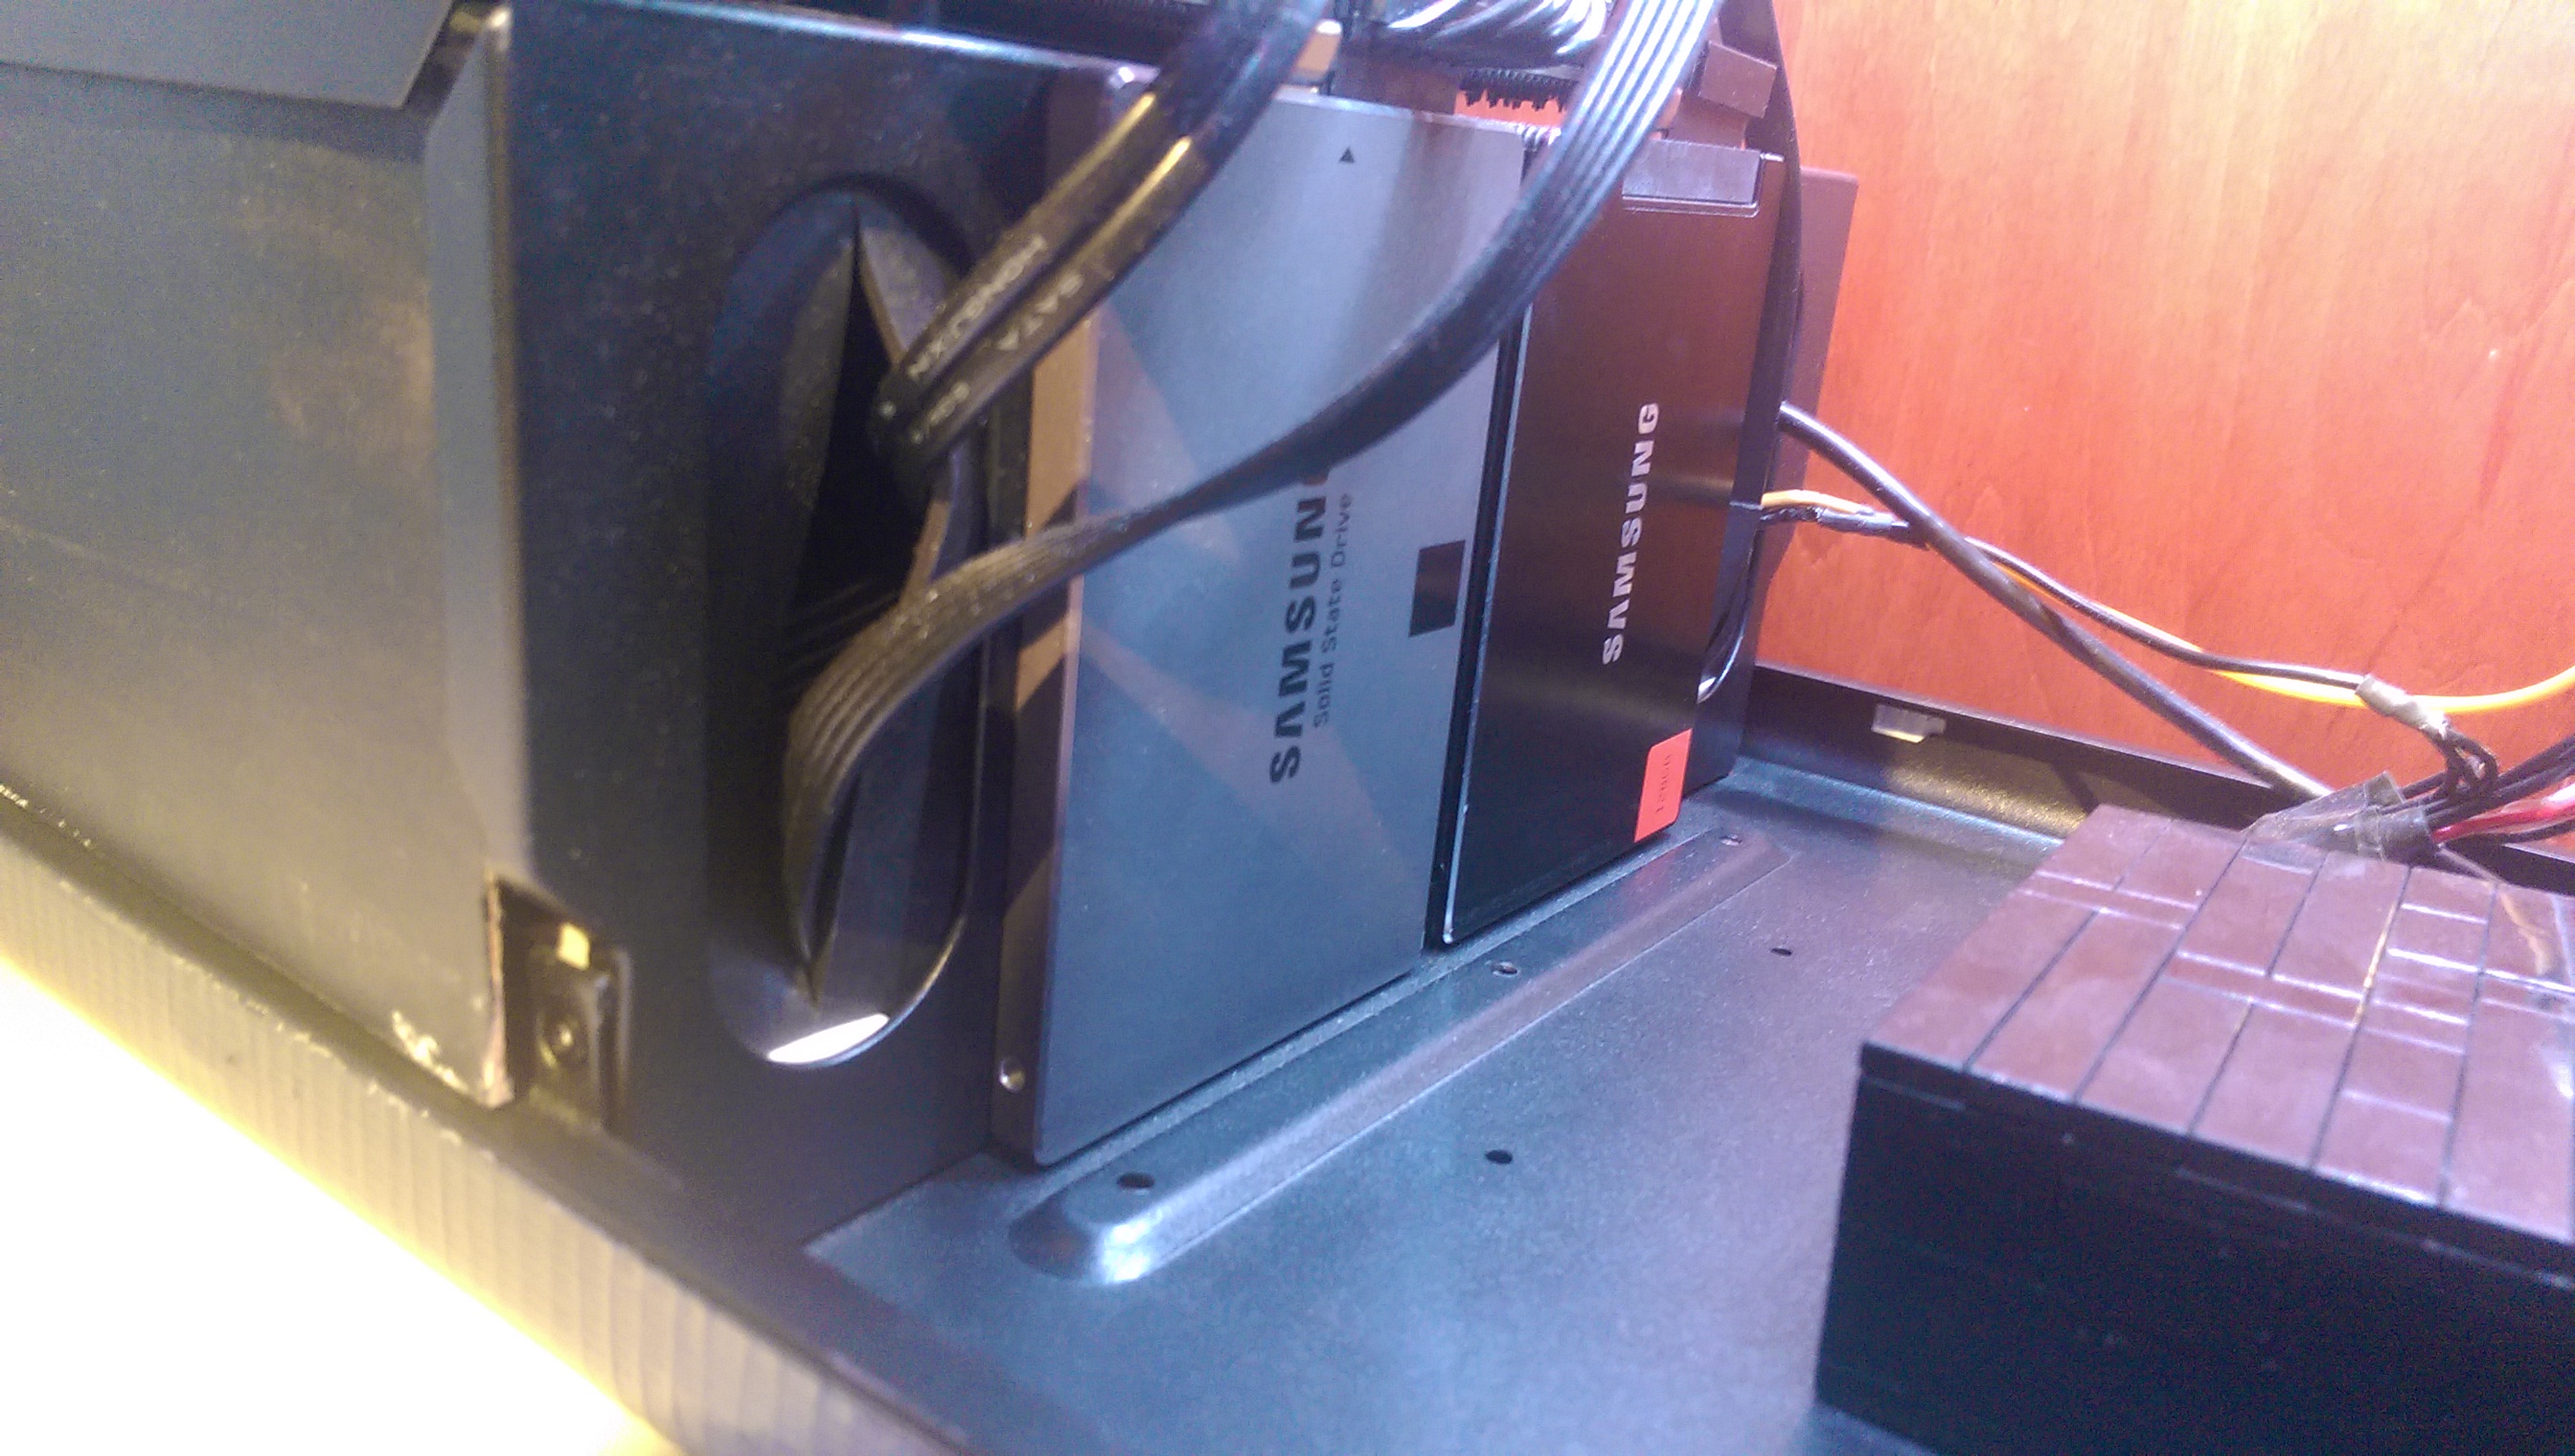
GROMMETS
Grommets are the pinnacle of cable management aids. Unfortunately the Prodigy does not come with them and I couldn’t find any place that sells them. So I made my own! This one was simple: a small sheet of rubber, tape, scissors, and a knife. I cut out some rectangles and sliced them down the middle, then taped them in and ran the wires through. This homemade solution has done a good job of hiding the mess of wires I stuffed into the PSU cage.
Thanks for taking a look at BobDaRedDino’s case mods! Hopefully some of you out there in the community will try similar projects and we can feature them. Remember to check out and contribute to the Bro Cave thread on our forums!
nipnops
I put the OO in Swagoo. One of the founders of KBMOD. I stream on Twitch as well as writing and editing for the website.
View nipnops's posts

One Response to Community Post: BobDeRedDino’s Case Mods – Part 2