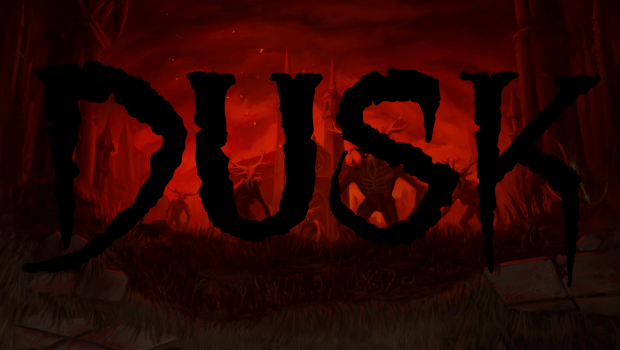


DUSK: The Good, The Bad, & The Oshry
December 13th, 2018 | by KBMOD Community
What’s up, fellow 90’s kids? TubNips here, comin’ in hotter than a fresh batch of pizza rolls with a review

December 13th, 2018 | by KBMOD Community
What’s up, fellow 90’s kids? TubNips here, comin’ in hotter than a fresh batch of pizza rolls with a review
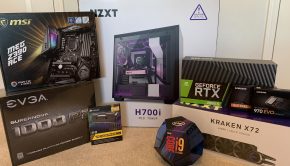
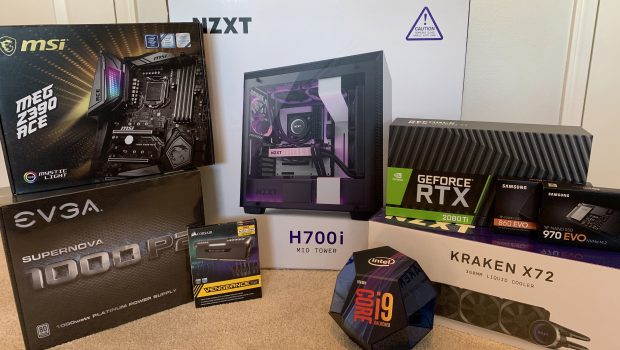
December 3rd, 2018 | by Brandon
As someone who considers myself a PC enthusiast, you might be surprised to hear that the last time I built
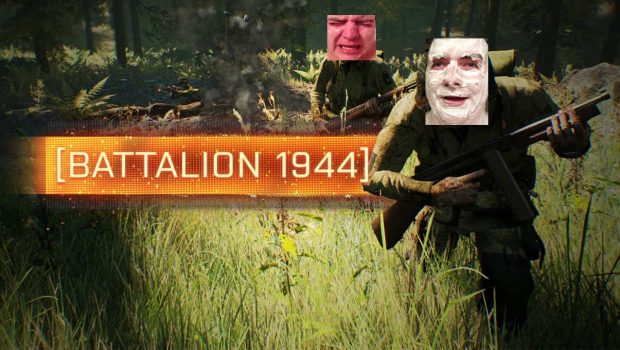
February 5th, 2018 | by Hardballer25
(We recently decided to give Hardballer a chance at putting together a review for the hot new title Battalion 1944. Below
December 22nd, 2017 | by stafunoob
Andrew Resident Evil 2 is one game from my childhood that I remember very fondly. I played through it numerous
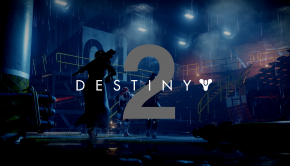
November 16th, 2017 | by Suros_Six
Destiny 2 has finally graced PC players with its presence, and on Battle.net no less. I was a pretty big
November 10th, 2017 | by hutchison15
It is 2017: your graphics cards should resemble a lightsaber and you should have 10 Gigabit outfitted in your home
November 8th, 2017 | by hutchison15
Sennheiser is a household name well known for their audio products, so when I heard they wanted to send me
October 11th, 2017 | by stafunoob
Over the past 10 or so years RPGs have shifted from the turnbased JRPG style combat to a more action
October 3rd, 2017 | by Suros_Six
Cyberpunk is a genre that has always fascinated me, and its easily one of my favorite genres when it comes
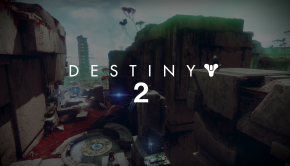
August 29th, 2017 | by Suros_Six
Better late than never is the well known saying that definitely applies to this situation. Bungie has finally graced the
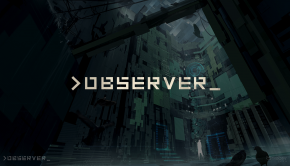
August 14th, 2017 | by Suros_Six
While I’m not definitely one for games in the horror genre, I had to give Bloober Team’s Observer a try because
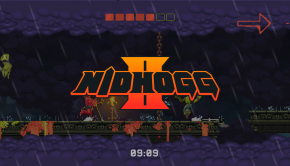
August 14th, 2017 | by stafunoob
The announcement of Nidhogg 2 got everyone at KBMOD really excited, but also worried. The game play in the trailer